To install pedals on a bike, align the pedals correctly with the crank arms and tighten with a pedal wrench. Installing pedals on your bike is a simple process that can be completed with the right tools and a little know-how.
Whether you’re replacing old pedals or upgrading to clipless pedals, this step-by-step guide will walk you through the installation process. By aligning the pedals correctly with the crank arms and using a pedal wrench to tighten them, you’ll have your bike ready to hit the road or trails in no time.
So, let’s dive in and learn how to install pedals on a bike!
How To Install Pedals On A Bike
Installing pedals on a bike is an essential skill for any cyclist. Whether you’re a beginner or an experienced rider, properly installing your pedals will ensure a comfortable and safe ride. In this article, we will discuss the importance of proper pedal installation, the necessary tools and equipment, and provide a step-by-step guide to help you install your pedals with ease.
Proper pedal installation is crucial for several reasons:
- Performance: Correctly installed pedals allow for efficient power transfer, ensuring that the energy you exert while pedaling is effectively transferred to the bike.
- Safety: Poorly installed pedals can lead to accidents or injuries. Loose pedals may detach during your ride, causing a loss of control.
- Comfort: Properly installed pedals will provide optimal foot support and alignment, reducing the risk of discomfort or pain during extended rides.
Before you begin the pedal installation process, make sure you have the following tools and equipment on hand:
- Allen wrench: Depending on your bike’s pedal type, you may need either a 6mm or 8mm Allen wrench.
- Pedal wrench: A pedal wrench is a thin, long-handled wrench specifically designed to remove and install pedals. This tool is essential for securing your pedals tightly.
- Grease: Applying a small amount of grease to the pedal threads and bike crank arms will help prevent corrosion and make installation and removal easier in the future.
Follow these simple steps to install your bike pedals:
- Step 1: Locate the right pedal (marked ‘R’) and the left pedal (marked ‘L’). Most pedals will have these markings on the spindle or pedal body.
- Step 2: Apply a thin layer of grease to the pedal threads.
- Step 3: Insert the right pedal into the right crank arm by turning it clockwise. Use the pedal wrench to tighten it securely.
- Step 4: Insert the left pedal into the left crank arm by turning it counterclockwise. Use the pedal wrench to tighten it securely.
- Step 5: Ensure both pedals are tightened firmly, but be cautious not to overtighten as it may damage the pedals or crank arms.
- Step 6: Test the pedals by giving them a few revolutions to make sure they are operating smoothly and securely attached.
Remember to periodically check the tightness of your pedals, especially after extended rides or intense activities. Regular maintenance and inspections will ensure your pedals remain properly installed and functioning correctly.
With these easy-to-follow steps, you can confidently install your bike pedals, enhancing your riding experience and maintaining a safe and comfortable ride. Happy pedaling!
Importance Of Proper Pedal Installation
Proper pedal installation is crucial for optimal performance, comfort, and safety while cycling. Whether you are a beginner or an experienced rider, ensuring that your bike pedals are installed correctly can make a significant difference in your cycling experience. In this article, we will explore the importance of proper pedal installation, focusing on three key factors: preventing pedal slippage for safety and efficiency, ensuring proper power transfer from rider to bike, and maintaining pedal compatibility with cycling shoes.
Preventing Pedal Slippage for Safety and Efficiency
Pedal slippage can be a major concern, especially when you’re pushing yourself to climb hills or sprint at high speeds. Improper pedal installation can lead to unexpected disengagement and loss of control. To prevent pedal slippage and promote safety and efficiency, follow these steps:
- Tighten the pedals securely using a pedal wrench or Allen key, ensuring they are snugly fixed onto the bike crank arms.
- Double-check the tightness of the pedals before each ride, as they can loosen over time due to normal cycling vibrations.
- Consider using pedal extenders if your shoes have a greater stack height than usual, as this can help improve stability.
Ensuring Proper Power Transfer from Rider to Bike
Proper power transfer is essential for maximizing your cycling performance. When your pedals are not installed correctly, power can be lost, resulting in inefficiency and potential muscle strain. To ensure optimal power transfer, follow these guidelines:
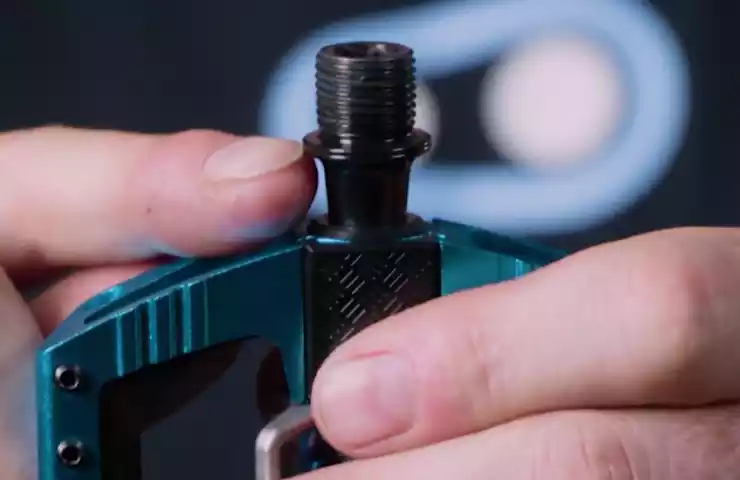
- Align the pedals correctly with the cranks, ensuring that the threads are properly engaged.
- Apply a moderate amount of grease or anti-seize compound to the pedal threads to prevent corrosion and make future removal easier.
- Firmly tighten the pedals, but be cautious not to overtighten and risk damaging the threads.
Maintaining Pedal Compatibility with Cycling Shoes
Maintaining pedal compatibility with your cycling shoes is essential for a secure and comfortable ride. Incompatible pedals and shoes can restrict your pedaling efficiency and compromise your stability. Consider the following tips:
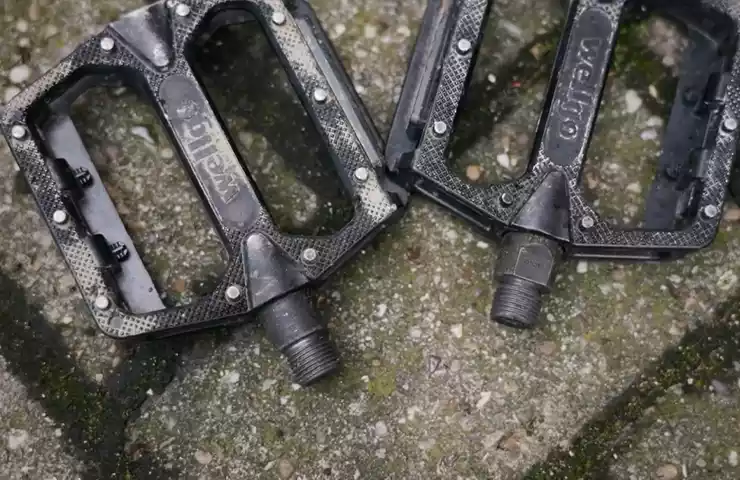
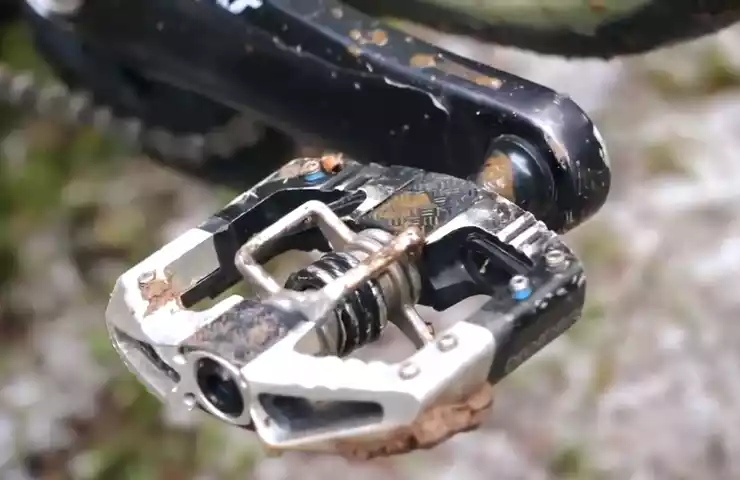
- Choose the appropriate pedal type that matches your cycling discipline and shoes. Common pedal types include clipless, toe clips, and platform pedals.
- Ensure that your cycling shoes are compatible with your chosen pedal system. Clipless pedals require specific cleats that must be properly installed.
- Regularly inspect the cleats, ensuring they are securely attached to your shoes, and replace them when they show signs of wear and tear.
By following these steps, you can experience a safer, more efficient, and more enjoyable ride. Proper pedal installation is not only crucial for your overall cycling performance but also plays a vital role in reducing the risk of injuries caused by pedal slippage or discomfort. Take the time to install your bike pedals correctly, and enjoy the benefits of a smooth, powerful, and comfortable ride.
Necessary Tools And Equipment
When it comes to installing pedals on your bike, having the necessary tools and equipment is essential. This section will discuss the tools you need to get the job done: a pedal wrench or allen key, grease and towel for lubrication, and optional pedal washers.
Pedal Wrench or Allen Key
One of the most important tools you’ll need to install pedals on your bike is a pedal wrench or an allen key, depending on the type of pedals you have. A pedal wrench is specifically designed for this task, with a long handle that provides leverage and a thin profile that fits in the tight space between the crank arm and the pedal.
If you have pedals with a hexagonal spindle, an allen key is the tool you will need. The size of the allen key required will vary depending on the pedals, so make sure you have the right size for your specific pedals.

Grease and Towel for Lubrication
Lubrication is crucial when installing pedals, as it helps reduce friction and ensures smooth pedaling. Before installing the pedals, apply a thin layer of grease to the threads of the pedal spindle. This will prevent them from seizing and make future removal easier.
Using a towel, wipe off any excess grease from the pedal spindle and crank arm. This will help keep your bike clean and prevent any grease from attracting dirt and debris.
Optional: Pedal Washers
While not necessary, pedal washers can be a useful addition when installing pedals. These small metal washers provide a larger surface area for the pedal to tighten against, reducing the chances of the pedal damaging the crank arm.
If you choose to use pedal washers, place them between the pedal and the crank arm before threading the pedal into the crank arm. Make sure they are properly aligned and tightened for optimal performance.
Having the necessary tools and equipment, such as a pedal wrench or allen key, grease and towel for lubrication, and optional pedal washers, will ensure a smooth and successful installation of your bike pedals. Now that you have everything you need, it’s time to get started!
Step-By-Step Guide For Pedal Installation
Step 1: Preparing the Bike for Pedal Installation
Before installing the pedals, it’s important to prepare your bike to ensure a smooth and hassle-free installation process. Start by finding a clean and clutter-free workspace where you’ll have enough room to maneuver. Additionally, gather a few essential tools that you’ll need, such as a pedal wrench or Allen key, grease, and a rag.
Step 2: Identifying the Left and Right Pedals
Once you’re ready to install the pedals, it’s crucial to identify the left and right pedals correctly. To do this, look for the markings on the pedals themselves. Most pedals have “L” or “R” engraved or printed near the axle, indicating the corresponding side. Alternatively, the left pedal may also have a reverse thread, meaning you’ll need to turn it clockwise to tighten it.
Step 3: Applying Grease and Tightening the Pedals
After confirming the correct orientation, apply a small amount of grease to the threads of the pedal spindle. This will help prevent seizing and make future removal easier. Once the grease is applied, align the pedal with the corresponding side of the bike and begin threading it in by hand. Use the pedal wrench or Allen key to tighten it securely, ensuring it is snug but not overly tight. Make sure the pedal is oriented correctly so that the pedal body is perpendicular to the ground when the crank arm is in the 3 o’clock position.
Step 4: Double-Checking the Pedal Tension and Alignment
After tightening the pedals, give them a final check to ensure they are secure and aligned properly. While holding onto the crank arm, grab onto each pedal and try to wiggle or rotate it. There should be no movement or play in the pedal. If you notice any looseness, use the pedal wrench or Allen key to tighten the pedal further. Additionally, visually inspect the alignment of the pedal body with the crank arm. Both pedals should be parallel to each other and facing the same direction.
By following these four simple steps, you’ll have your pedals properly installed and ready for your next cycling adventure. Enjoy the smooth and efficient pedaling experience!
Frequently Asked Questions On How To Install Pedals On A Bike
What Are The Direction Of Pedals?
The direction of pedals depends on the type of vehicle. In a car, the accelerator pedal is on the right, while the brake pedal is on the left. In a bicycle, the pedal on the right side is for accelerating, and the one on the left side is for braking.
How Do You Remove And Install Bike Pedals?
To remove bike pedals, turn the left pedal counter-clockwise and the right pedal clockwise. To install new pedals, turn the left pedal clockwise and the right pedal counter-clockwise. Use a pedal wrench to tighten securely. Make sure threads are clean before installation.
Is It Easy To Swap Bike Pedals?
Swapping bike pedals is an easy task. Simply unscrew the old pedals and screw in the new ones. It can be done with basic tools and does not require much expertise.
Do All Bike Pedals Fit All Bikes?
No, not all bike pedals fit all bikes. It’s important to check the pedal type and thread size to ensure compatibility with your bike.
Conclusion
Installing pedals on a bike may seem daunting at first, but with the right tools and guidance, it can be a quick and easy process. By following the step-by-step instructions in this blog post, you’ll be able to confidently attach your pedals and hit the road in no time.
Remember to double-check your work and tighten everything properly for a secure and smooth ride. Happy cycling!