To install a car wrap, thoroughly clean the surface of the vehicle and remove any dirt or debris. Carefully position the wrap on the car, starting with the largest panels first and gradually smoothing them out with a squeegee to remove any air bubbles.
Are you looking to give your car a fresh new look? Installing a car wrap is a great way to achieve a unique and eye-catching design. Car wraps not only offer protection to your vehicle’s original paintwork but also allow you to make a bold statement with the design or color of your choosing.
Whether you’re a professional installer or a DIY enthusiast, this guide will provide you with step-by-step instructions on how to install a car wrap. So, let’s dive in and transform your car into a head-turning masterpiece!
Understanding Car Wrapping
Understanding Car Wrapping Car wrapping is a popular trend in the automotive world, allowing you to give your vehicle a fresh new look without the need for expensive paint jobs. Whether you’re looking to update your car’s appearance or advertise your business on the go, car wrapping provides a cost-effective solution. But before you dive into the world of car wraps, it’s important to understand the basics. In this article, we’ll explore what car wrapping is, its benefits, and the different types of car wraps available.
What is car wrapping?
Car wrapping, also known as vehicle wrapping, is the process of applying a vinyl film to the exterior of a vehicle. This film adheres to the paintwork, completely transforming the appearance of the car. Car wraps are available in a variety of colors, finishes, and designs, allowing you to create a truly unique look for your vehicle.
Benefits of car wrapping
There are several benefits of choosing a car wrap over traditional paintwork. Let’s take a closer look at some of the key advantages: 1. Cost-effective: Car wraps are generally more affordable than getting your vehicle repainted. They offer a budget-friendly way to change the look of your car without breaking the bank. 2. Protection: Car wraps not only enhance the appearance of your vehicle but also provide a layer of protection. The vinyl film acts as a shield, guarding against scratches, chips, and the effects of UV rays. 3. Reversibility: Unlike paint, car wraps are not permanent. They can be easily removed without damaging the underlying paintwork. This allows you to change the look of your car whenever you desire, without the need for expensive repainting. 4. Advertising: Car wraps offer a great opportunity for businesses to promote their brand on the move. By wrapping your vehicle with your company’s logo and contact information, you can create a moving billboard that reaches a wide audience wherever you go.
Types of car wraps
When it comes to choosing a car wrap, you have several options to consider. Here are the main types of car wraps available: 1. Color change wraps: These wraps come in a variety of vibrant colors and finishes, allowing you to completely change the look of your vehicle. From glossy black to matte metallic, the choices are endless. 2. Printed wraps: Printed wraps are ideal for those who want to make a statement. You can choose a custom design, such as a specific pattern or even a photo, to create a truly unique and eye-catching wrap. 3. Protective wraps: If you’re looking for additional protection for your car, consider a clear protective wrap. This transparent film provides an invisible shield against scratches, stone chips, and other minor damages. In conclusion, car wrapping is a fantastic way to transform the appearance of your vehicle, protect its paintwork, and even promote your business. Whether you opt for a color change wrap, a printed design, or a protective film, car wrapping offers a cost-effective and flexible solution. So why wait? Give your car a fresh new look with a car wrap today!
Preparing For Car Wrap Installation
Installing a car wrap can be an exciting way to give your vehicle a fresh, new look. However, before you dive into the installation process, it’s important to properly prepare your car to ensure a seamless and long-lasting result. In this section, we will discuss the key steps involved in preparing your car for a wrap installation.
Choosing the right materials
When it comes to choosing the right materials for your car wrap, it’s essential to invest in high-quality products that are specifically designed for vehicle wraps. Opting for reliable brands and durable materials will not only enhance the overall appearance of your car but also prolong the lifespan of the wrap.
Cleaning and preparing the car surface
Before applying the car wrap, it’s crucial to clean the surface thoroughly to ensure proper adhesion. Start by washing the entire exterior of the vehicle using a mild soap and water solution. Make sure to remove any dirt, grease, or wax that may hinder the adhesive quality of the wrap.
After cleaning the surface, utilize a mixture of isopropyl alcohol and water to eliminate any remaining contaminants. This will help in achieving a smooth and even application of the car wrap. Remember to let the surface dry completely before proceeding to the next step.
Gathering the necessary tools and equipment
Having the right tools and equipment at hand will streamline the car wrap installation process and ensure a professional outcome. Here’s a list of essential tools you’ll need:
| Tools | Equipment |
|---|---|
| Utility knifeHeat gunSqueegeeMicrofiber clothMasking tapeMeasuring tapePrimerAdhesive remover | StepladderHeat-resistant glovesIsopropyl alcoholSpray bottleSoft brushGlovesProtective eyewearProtective clothing |
Having these tools and equipment readily available will not only make your car wrap installation process more efficient but also ensure a smooth and hassle-free experience.
Step-By-Step Car Wrap Installation Process
If you’re looking to give your car a fresh new look, installing a car wrap is a great way to do it. While it may seem like a daunting task, the step-by-step car wrap installation process is actually quite straightforward. In this guide, we’ll break down each step, from removing exterior car parts (if necessary) to the finishing touches and post-installation steps.
Removing Exterior Car Parts (if necessary)
The first step in the car wrap installation process involves removing any exterior car parts that may obstruct the wrapping process. This could include things like side mirrors, door handles, or badges. Take your time during this step to ensure that these parts are removed carefully, without causing any damage.
Applying the Adhesive Vinyl Wrap
Once you’ve prepared the car by removing any necessary parts, it’s time to apply the adhesive vinyl wrap. Start by cleaning the surface of the car thoroughly to ensure that it’s free from any dirt or grease. This will allow the wrap to adhere properly. Next, carefully align the wrap with the desired area and apply it slowly, using a squeegee to smooth out any air bubbles.
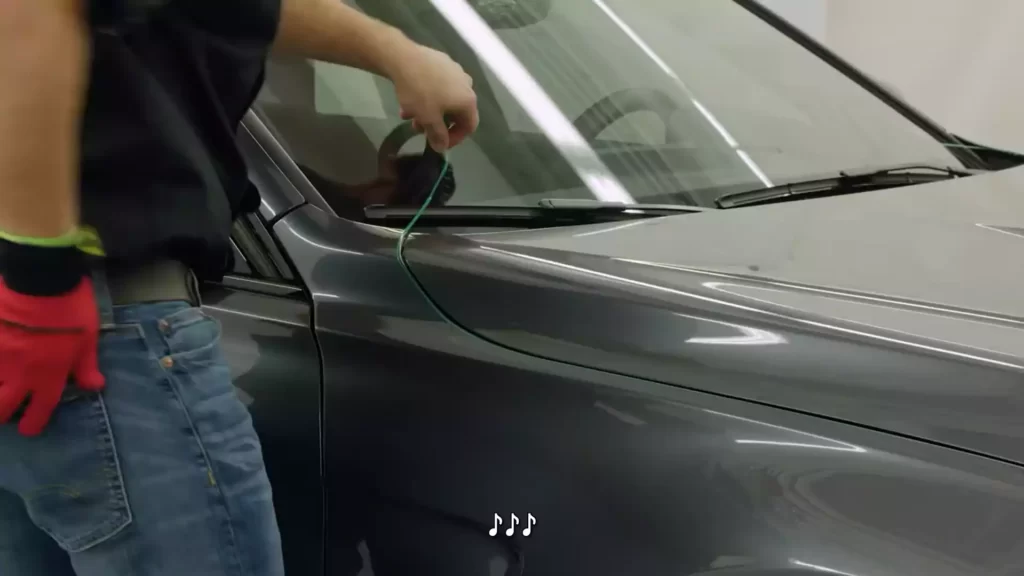
Trimming and Aligning the Wrap
After you’ve applied the vinyl wrap, it’s important to trim and align it for a seamless finish. Use a sharp blade or a precision knife to trim any excess material, taking care to follow the contours of the car. Pay close attention to edges and corners, ensuring that the wrap is properly aligned.
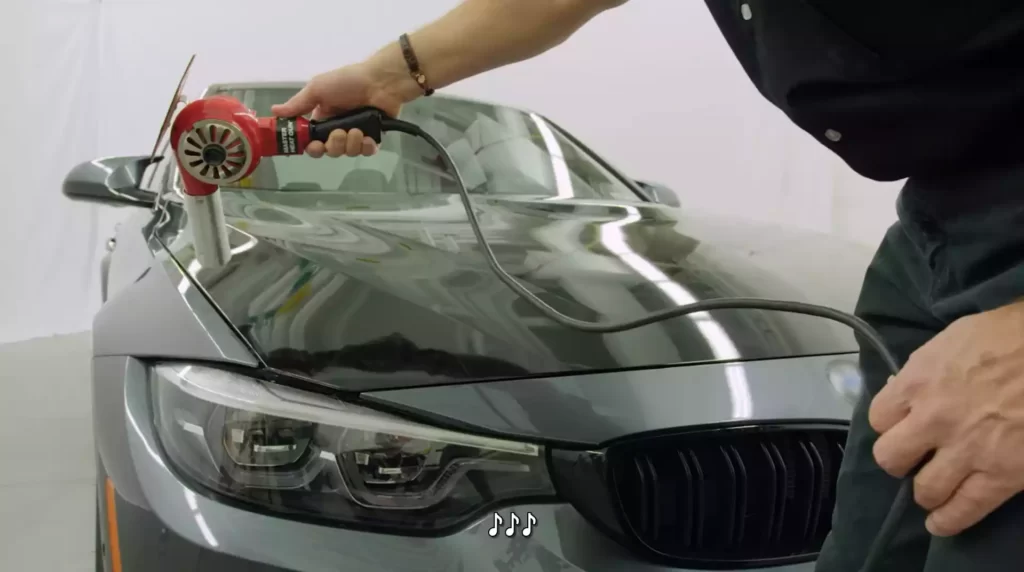
Heating and Stretching the Wrap
Heating the vinyl wrap is a key step in ensuring a tight and secure fit. Use a heat gun or a hairdryer on a low setting to warm up the wrap. This will make it more pliable and allow you to stretch it gently around curves and contours. Take your time during this step and be cautious not to overstretch the material.
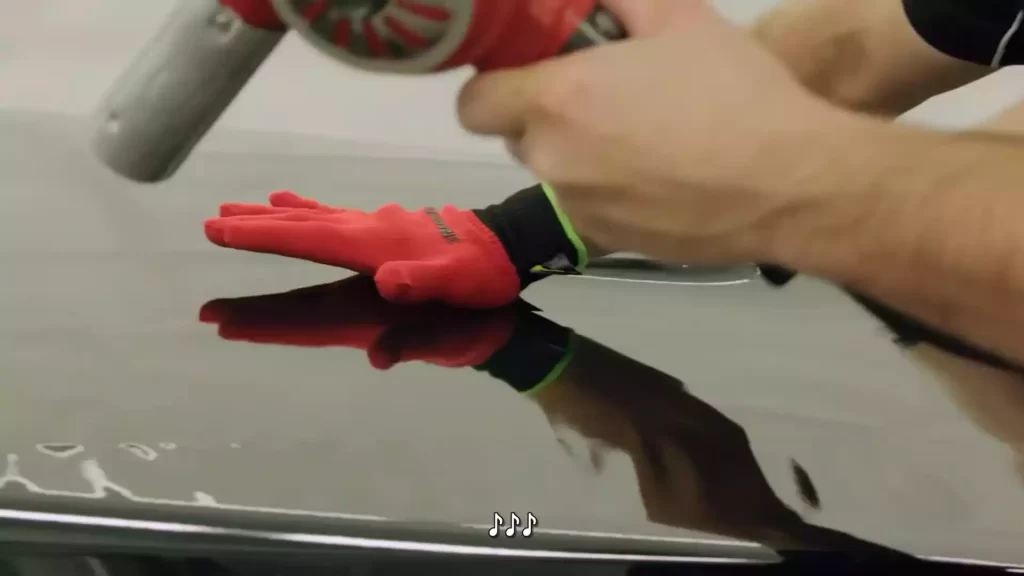
Applying Pressure and Smoothing out Any Bubbles
Once you’ve stretched the wrap and positioned it correctly, it’s time to apply pressure and smooth out any remaining bubbles. A squeegee or a soft cloth can be used for this purpose. Start from the center and work your way out towards the edges, releasing any trapped air as you go.
Finishing Touches and Post-Installation Steps
After you’ve successfully applied the car wrap, it’s time for the finishing touches and post-installation steps. Inspect the wrap for any imperfections or areas that may need additional attention. Use a heat gun or a hairdryer to warm up stubborn areas and reapply pressure to ensure a seamless finish. Finally, give the wrap a gentle wash to remove any residue or fingerprints and let it dry completely.
By following this step-by-step car wrap installation process, you’ll be able to transform the appearance of your car and give it a customized look. Remember to take your time, be patient, and pay attention to detail for the best results.
Common Mistakes To Avoid
Installing a car wrap can be a fantastic way to rejuvenate the appearance of your vehicle and protect its paintwork. However, to achieve a professional-looking result, it is important to avoid common mistakes that can compromise the final finish. In this section, we will discuss some of the frequent errors that you should steer clear of when installing a car wrap.
Improper surface preparation
Before applying a car wrap, it is crucial to properly prepare the surface of your vehicle. Failing to do so can lead to subpar results, such as poor adhesion and an uneven finish. To avoid this, follow these steps:
- Thoroughly clean the surface using a gentle car detergent and a microfiber cloth. Removing any dirt, dust, or grime will ensure better adhesion.
- Use a paint-safe surface cleaner to remove any wax or other contaminants that may be present. This will create a smooth surface for the wrap to adhere to.
- Inspect the surface for any scratches or imperfections. If necessary, use a paint correction product to address these issues before proceeding with the wrap installation.
Overstretching or understretching the wrap
When installing a car wrap, it is important to achieve the right amount of stretch. Overstretching or understretching the vinyl can result in visible wrinkles or bubbles, compromising the final appearance. Here are some tips to avoid this mistake:
- Follow the manufacturer’s guidelines regarding the recommended amount of stretch for the specific type of vinyl you are using.
- Apply gentle and even pressure during the stretching process to distribute the tension evenly across the surface.
- Make use of a heat gun to soften the vinyl, allowing for easier stretching and reducing the likelihood of wrinkles or bubbles.
Ignoring proper heating techniques
Properly heating the car wrap is essential to ensure long-term adhesion and longevity. Failing to use proper heating techniques can result in premature lifting or peeling of the vinyl. Follow these guidelines to avoid this mistake:
- Use a heat gun or a professional heat gun on a low to medium setting to warm up the vinyl before application.
- Apply heat to the surface as you apply the wrap, ensuring even heat distribution across the vinyl.
- Pay extra attention to curved or recessed areas, as they may require additional heat to achieve proper adhesion and conform to the shape of the vehicle.
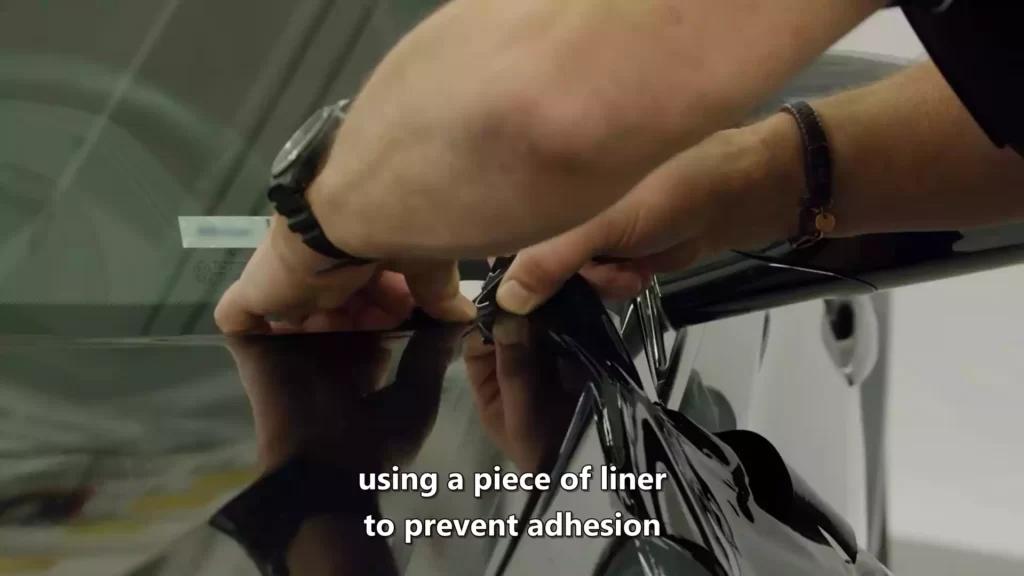
Handling sharp corners and edges
Sharp corners and edges can present a challenge during car wrap installation, as they are prone to lifting or tearing if not handled correctly. To avoid this mistake:
- Use a professional-grade trim tool to carefully tuck the vinyl around the edges and corners.
- Apply gentle heat to the area to soften the vinyl and make it more pliable.
- Avoid stretching the vinyl excessively around corners, as this can lead to creases or weak spots.
Not allowing enough time for the wrap to cure
After installing a car wrap, it is crucial to allow enough time for the vinyl to cure properly before subjecting it to any harsh conditions. Failing to do so can result in premature wear or damage to the wrap. Keep these points in mind:
- Follow the manufacturer’s instructions regarding the recommended curing time for the specific type of wrap you have installed.
- Avoid washing the vehicle or exposing it to extreme weather conditions during the curing period.
- Allow at least 24 to 48 hours for the adhesive to fully bond with the surface before resuming normal use of the vehicle.
Avoiding these common mistakes will help ensure a successful car wrap installation, resulting in a stunning and long-lasting finish for your vehicle. Take your time, follow the recommended techniques, and enjoy the transformation of your car with a professionally installed wrap.
Tips For Maintaining A Car Wrap
Once you have installed a car wrap, it’s important to take proper care of it to ensure it stays in pristine condition. Regular cleaning and maintenance, avoiding harsh chemicals or abrasive cleaning methods, and protecting the wrap from sun damage and environmental factors are essential for maintaining your car wrap’s longevity.
Regular cleaning and maintenance
Regular cleaning is crucial to keep your car wrap looking its best. Dirt, grime, and pollutants can accumulate on the surface and dull the appearance of the wrap over time. To keep your car wrap clean, follow these tips:
- Use a mild soap or a dedicated car wrap cleaning solution. Avoid using harsh chemicals or abrasive cleaners as they can damage the wrap.
- Wash the car wrap with a soft microfiber cloth or sponge, gently wiping in a back-and-forth motion.
- Rinse the wrap thoroughly with water to remove any soap residue.
- Pat dry the surface with a clean microfiber cloth to prevent water spots.
Regularly inspect your car wrap for any signs of damage or lifting at the edges. If you notice any issues, it’s best to address them promptly to prevent further damage.
Avoiding harsh chemicals or abrasive cleaning methods
Using harsh chemicals or abrasive cleaning methods can harm the car wrap’s finish and potentially cause it to peel or fade. To avoid damaging the wrap during cleaning:
- Avoid using ammonia-based cleaners, bleach, or abrasive scrubbing pads.
- Do not use high-pressure washers or automatic car washes with abrasive brushes.
- When removing stubborn stains, first try using a mild soap and water solution. If the stain persists, consult with a professional car wrap installer for advice.
Remember, being gentle during the cleaning process will help preserve the integrity of the car wrap and keep it looking vibrant for longer.
Protecting the wrap from sun damage and environmental
factors
The sun’s UV rays, along with environmental factors like pollution and harsh weather conditions, can take a toll on your car wrap. To protect the wrap:
- Park your car in shaded areas or use a car cover to shield it from direct sunlight.
- If parking outdoors for an extended period, consider using a UV protective spray designed for car wraps.
- Regularly apply a protective wax or sealant to the wrap’s surface to provide an additional layer of defense against environmental elements.
Taking these preventive measures will help minimize sun damage and preserve the color and quality of your car wrap.
In conclusion, maintaining your car wrap involves regular cleaning and maintenance, avoiding harsh chemicals, and protecting it from sun damage and environmental factors. By following these tips, you can ensure that your car wrap stays in excellent condition and continues to turn heads wherever you go.
Frequently Asked Questions (Faqs)
As you prepare to install a car wrap, you may have some questions in mind. In this section, we will address some of the most common questions that motorists have about car wrap installation. Read on to find answers to these FAQs.
How long does a car wrap last?
A car wrap, if properly maintained, can last anywhere from 3 to 7 years. However, the longevity of the car wrap depends on various factors. These factors include the quality of the materials used, the skill of the installers, and how well the car wrap is taken care of after installation. Regular cleaning, using non-abrasive cleaning products, and avoiding harsh weather conditions can ensure a longer lifespan for your car wrap.
Can I remove the wrap later without damaging my car’s paint?
Yes, one of the benefits of car wraps is that they can be removed without causing damage to your car’s original paint. However, it is important to note that the ease of removal can vary based on factors such as the quality of the wrap material and the length of time the wrap has been on the car. To ensure easy removal, it is recommended to have a professional handle the removal process. They have the expertise and tools necessary to remove the wrap without causing any harm to your vehicle’s paint.
Can I wrap a car with existing damage or scratches?
Yes, car wraps can be installed on cars with existing damage or scratches. However, it is important to understand that the car wrap will not hide these imperfections. In fact, the car wrap may even accentuate them. Before installing a car wrap on a damaged car, it is recommended to have the damage repaired to achieve the best aesthetic result. Keep in mind that car wraps adhere best to smooth and clean surfaces.
Is professional installation necessary, or can I do it myself?
While it is possible to install a car wrap yourself, professional installation is highly recommended to ensure a flawless and long-lasting result. Professional installers have the necessary tools, expertise, and knowledge to properly install a car wrap, ensuring that there are no bubbles, wrinkles, or misalignments. They also have experience in dealing with different car models and shapes, which can be challenging for a DIY installation. Investing in professional installation will give you peace of mind and a high-quality finish.
Frequently Asked Questions For How To Install Car Wrap
Can You Install A Wrap Yourself?
Yes, you can install a wrap yourself. It requires careful attention and knowledge of the process. Make sure to follow instructions and use proper tools for a successful installation.
How Hard Is It To Wrap Your Own Car?
Wrapping your own car can be challenging but doable. It requires patience, precision, and a steady hand.
Should You Wrap A Car Wet Or Dry?
It is recommended to wrap a car dry rather than wet.
Is Vinyl Wrap Hard To Install?
Installing vinyl wrap is not difficult. It can be easily done without professional help. Just follow the instructions and use the proper tools. Take your time and be patient for a successful installation.
Conclusion
Installing a car wrap requires careful preparation, proper tools, and attention to detail. By following the step-by-step process outlined in this guide, you can achieve a professional-looking finish that enhances the appearance and protects the surface of your vehicle. Remember to clean the surface thoroughly, use a heat gun for a seamless finish, and smooth out any air bubbles or wrinkles.
Taking the time to install your car wrap correctly will ensure it lasts for years to come. Start transforming your car’s look today!