To install a bike seat, align the seat post with the seat tube on the bike frame, tighten the seat clamp bolt securely, and adjust the height and angle of the seat as desired. Installing a bike seat is a simple process that can be done in a few minutes without any special tools or expertise.
However, it is important to ensure that the seat is properly aligned and securely tightened to ensure a comfortable and stable ride. We will provide step-by-step instructions on how to install a bike seat, along with some helpful tips and precautions.
Whether you are a beginner or an experienced cyclist, this guide will help you install your bike seat with ease.
Choosing The Right Bike Seat
When it comes to enjoying a comfortable and pain-free bike ride, choosing the right bike seat is crucial. A well-fitted seat not only enhances your riding experience but also helps prevent discomfort, numbness, and potential injuries. In this section, we will discuss the various factors to consider when selecting a bike seat, including the importance of comfort, your riding style, bike type, saddle width, and shape. By understanding these factors, you can make an informed decision and find the perfect seat for your cycling needs.
Factors to consider when selecting a bike seat
When choosing a bike seat, there are several factors you should consider to ensure the right fit:
- Importance of Comfort: Comfort is crucial for an enjoyable ride. Look for seats with ample cushioning and gel padding to provide support and reduce pressure points.
- Riding Style and Bike Type: Your riding style and bike type play a significant role in determining the right seat. If you’re an avid road cyclist, a narrow and lightweight seat might be suitable. For mountain bikers or commuters, a wider seat with more padding can offer better comfort and stability.
- Saddle Width and Shape: The width of the bike seat is essential to provide proper support for your sit bones (ischial tuberosities). Measure the distance between your sit bones and choose a seat that matches the measurement. Additionally, consider the shape of the saddle. Some seats are flat, while others feature a cutout or channel design to relieve pressure on sensitive areas.
- Consulting a Bike Professional for Guidance: If you’re unsure about which bike seat to choose, consider consulting a bike professional. They can analyze your riding style, bike fit, and provide personalized recommendations.
Preparing Tools And Equipment
Before you begin the process of installing a bike seat, it is important to gather all the necessary tools and equipment to ensure a smooth and successful installation. By having the right tools at hand, you can avoid any frustration or delays during the process. Let’s take a look at the essential tools and equipment needed:
Assembling the necessary tools
The first step in preparing for the installation of a bike seat is to gather all the required tools. Here are the tools you’ll need:
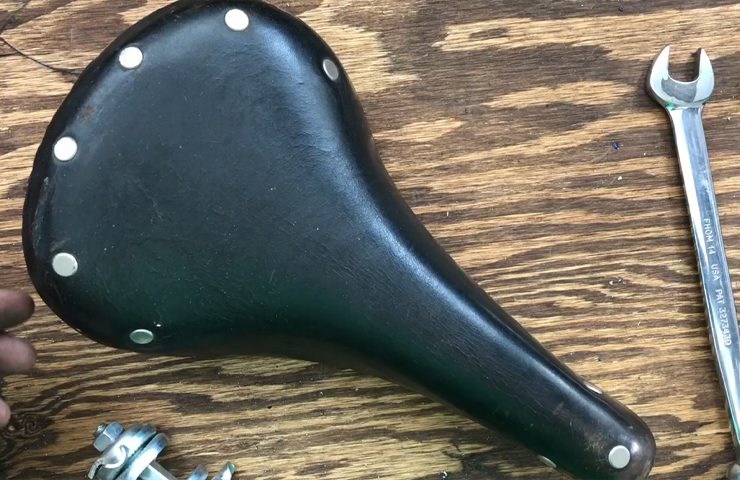
- Hex keys and Wrenches
- Lubricants and threadlocker
- Tape measure or calipers
Having these tools readily available will save you time and effort during the installation process.
Hex keys and Wrenches
Hex keys and wrenches are essential tools for loosening and tightening the bolts and screws that secure the bike seat. It is important to ensure you have the correct sizes of hex keys and wrenches that fit the specific bolts on your bike seat. This will prevent any damage to the bolts or screws and ensure a secure and stable installation.
Lubricants and threadlocker
Using lubricants and threadlocker is crucial to prevent any looseness or creaking noises that may occur over time. Apply a small amount of lubricant to the seatpost and the bolts to reduce friction and make the installation smoother. Additionally, using threadlocker on the bolts will provide extra security by preventing them from becoming loose due to continuous vibration during rides.
Tape measure or calipers
Measuring the seatpost diameter accurately is essential to ensure the new bike seat is compatible with your bike frame. A tape measure or calipers can be used to measure the diameter, allowing you to select the appropriate seatpost size. This step is important to avoid any compatibility issues and to ensure a snug fit.
By assembling the necessary tools and equipment, you are now ready to move on to the next steps of the bike seat installation process.
Removing The Old Bike Seat
When it’s time to install a new bike seat, the first step is to remove the old seat. This process involves several steps to ensure a safe and smooth transition. In this section, we will guide you through the process of removing the old bike seat, including how to loosen and adjust the seatpost clamp, removing the bolts, and inspecting the seatpost for any damage or wear.
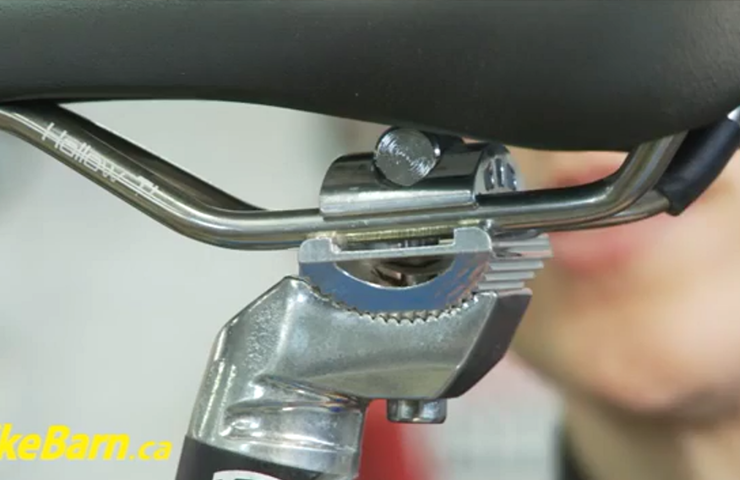
Loosening and Adjusting the Seatpost Clamp
The seatpost clamp is responsible for holding the seatpost firmly in place. To remove the old seat, you’ll need to first loosen and adjust this clamp. Follow these steps:
- Locate the seatpost clamp underneath the saddle.
- Using an Allen wrench or an appropriate tool, loosen the clamp by turning it counterclockwise. This will allow you to adjust the seatpost height.
- Once the clamp is loosened, you can slide the seatpost up or down to your desired position.
- Tighten the clamp again by turning it clockwise, ensuring it holds the seatpost securely.
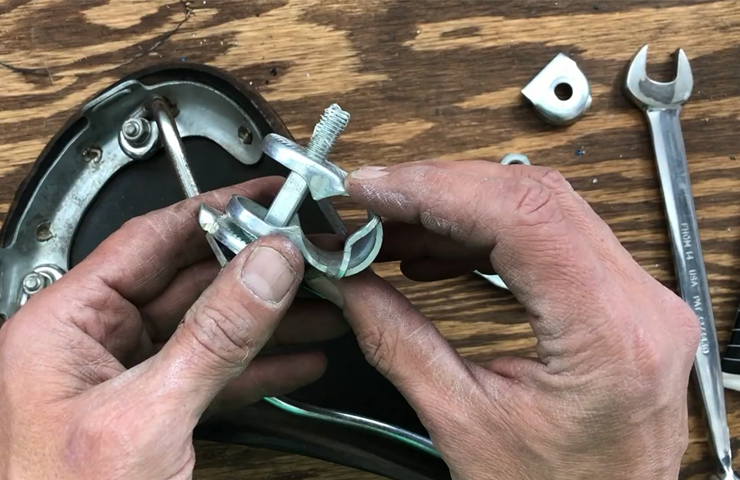
Removing the Bolts and Carefully Taking off the Old Seat
With the seatpost clamp adjusted, you can proceed to remove the bolts and carefully take off the old seat. Here’s how:
- Identify the bolts that attach the seat to the seatpost.
- Using an appropriate wrench or tool, turn the bolts counterclockwise to loosen them. Be sure to hold onto the seat while doing this to prevent it from falling.
- Once the bolts are sufficiently loosened, carefully lift the old seat off the seatpost and set it aside.
Inspecting the Seatpost for Any Damage or Wear
After removing the old seat, it’s essential to inspect the seatpost for any damage or wear. Here are a few key things to look out for:
- Check for any cracks or signs of structural damage on the seatpost. If you notice any, it’s best to replace the seatpost to ensure your safety.
- Look for excessive scratches or uneven surfaces that could affect the stability of the new seat. Smooth out any rough areas if possible.
- Check the seatpost’s diameter to ensure it matches the new seat you plan to install. This will prevent compatibility issues down the line.
By carefully inspecting your seatpost, you can address any issues before installing the new bike seat and ensure a secure and comfortable ride.
Installing The New Bike Seat
Installing a new bike seat is a simple yet crucial task that can greatly enhance your cycling experience. Whether you’re a seasoned rider or just starting out, adjusting your bike seat to the correct height and angle can make a world of difference in terms of comfort and performance. In this guide, we will walk you through the step-by-step process of installing a new bike seat, so you can ride with confidence and ease.
Determining the Correct Height and Angle
Before you start installing your new bike seat, it’s important to determine the correct height and angle that suits your body and riding style. The proper seat height ensures optimal leg extension and power transfer, while the ideal seat angle provides a comfortable seating position.
Establishing the Ideal Height
To establish the ideal seat height, follow these steps:
- Stand next to your bike and position the seat so that it is level with your hip bone.
- Mount the bike and place your heel on the pedal in its lowest position.
- Adjust the seat height so that your leg is fully extended with a slight bend in the knee.
- Ensure that your foot is flat on the pedal when it is parallel to the ground.
By following these steps, you can establish the ideal seat height that promotes efficient pedaling and minimizes the risk of knee strain.
Finding the Appropriate Seat Angle
Next, you will need to find the appropriate seat angle:
- Ensure the bike is level and secure.
- Position the seat parallel to the ground, ensuring it is not tilted forward or backward.
- Mount the bike and adjust the seat angle until you find a comfortable seating position.
Remember, the seat angle should provide a balanced distribution of weight and support your natural riding posture.
Positioning the Seat and Tightening the Bolts
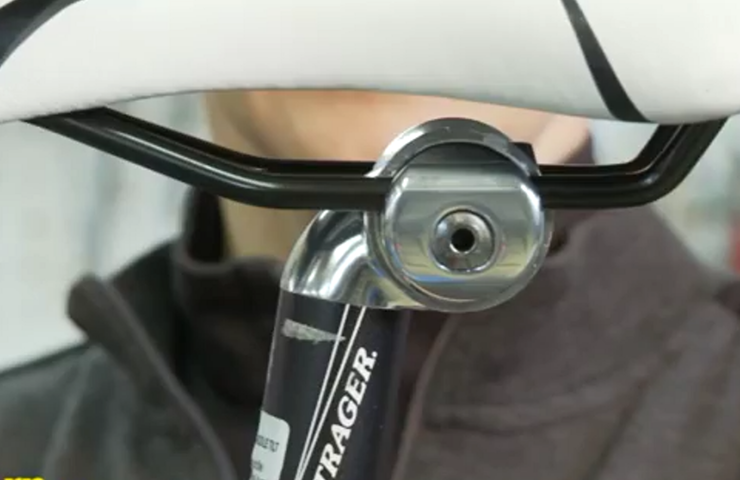
Once you have determined the correct height and angle, it’s time to position the seat and secure it with the bolts:
- Align the seat rail with the seat post clamp.
- Ensure the front of the seat is aligned with the center of the handlebars.
- Tighten the bolts gradually and evenly using an Allen wrench or an appropriate tool.
Make sure the seat is securely fastened to prevent any unnecessary movement or risk of damage while riding.
Ensuring Stability and Making Final Adjustments
After tightening the bolts, it’s important to ensure the stability of the seat and make any final adjustments:
- Grab the seat firmly and try to move it side to side and front to back.
- If there is excessive movement, tighten the bolts further until the seat is stable.
- Take a short test ride to assess the comfort and stability of the seat.
If you experience any discomfort or instability, go back to the previous steps and make necessary adjustments until you find the optimal position.
Installing a new bike seat may require some trial and error to find the perfect fit. However, by following these steps and making incremental adjustments, you can ensure a comfortable and enjoyable ride. Remember, finding the correct height and angle is essential for maximizing your cycling performance and preventing unnecessary discomfort or injury.
Troubleshooting Common Issues
Saddle discomfort and adjusting the seat to alleviate pain
If you experience saddle discomfort or pain while riding your bike, adjusting the seat can often provide relief. Firstly, ensure that your saddle is positioned at the correct height. A seat that is too low or too high can lead to discomfort and pain. To find the optimal height, sit on the bike with your feet flat on the ground and adjust the saddle so that there is a slight bend in your knee when the pedal is at the bottom position.
Additionally, you can experiment with the angle of the seat. Tilting the saddle slightly forward or backward can alleviate pressure on sensitive areas. If you experience discomfort in the groin area, tilting the seat slightly upward at the nose may help. Conversely, if you have pain in your sit bones, tilting the seat slightly downward at the nose might provide relief.
Addressing pressure points
If you are experiencing discomfort from pressure points, it may be helpful to use a gel or memory foam seat cover. These cushioning materials can provide additional padding and distribute pressure more evenly across the saddle. Moreover, wearing padded cycling shorts or using chamois cream can also help reduce friction and pressure on sensitive areas.
Experimenting with different seat positions
Don’t be afraid to experiment with different seat positions until you find the most comfortable one. Adjust the seat forward or backward on the rails to find the position where your weight is balanced. Small adjustments in position can make a significant difference in comfort, so take the time to find the perfect fit for your body.
Slippage and making sure the seat is secure
If you notice that your saddle keeps slipping while riding, it is important to make sure it is securely tightened. Use a torque wrench to tighten the bolts to the manufacturer’s recommended specifications. This will ensure that the seat stays in place even during vigorous riding or bumpy terrain.
You can also apply threadlocker to the saddle bolts for an extra layer of security. Threadlocker prevents the bolts from loosening due to vibrations and ensures that your seat remains stable throughout your rides.
Incompatibility with the bike frame and considerations for alternative seats
In some cases, the bike seat you have may not be compatible with your bike frame. It is crucial to consider the compatibility specifications before purchasing or installing a new seat. Most bike manufacturers provide guidelines on which seats are compatible with their frames.
If you find that your seat is not compatible or you are continuously experiencing discomfort, it may be worthwhile to consider alternative seats. There are various options available, such as wider or narrower saddles, ergonomic designs, or even seats with cutouts for pressure relief. Consulting with the manufacturer or a bike shop can provide valuable assistance in finding the right seat for your specific needs.
Frequently Asked Questions On How To Install Bike Seat
How Do You Attach A Bike Seat To The Post?
To attach a bike seat to the post, follow these steps: 1. Position the seat clamp over the top of the bike post. 2. Slide the seat post into the desired height. 3. Tighten the seat clamp bolt using an Allen wrench.
4. Ensure the seat is secure but still adjustable if needed. 5. Test the seat by sitting on it and making any necessary adjustments.
What Is The Correct Saddle Position For Cycling?
The correct saddle position for cycling is crucial for comfort and efficiency. It should allow for a slight bend in the knee when the pedal is at its lowest position. The saddle height should be set so that the hips don’t rock side to side while pedaling.
What Is The Correct Seat Height For A Bike?
The correct seat height for a bike is when your leg is almost fully extended with a slight bend at the knee when the pedal is at its lowest point. It ensures proper pedaling efficiency and reduces the risk of injury.
Adjust the seat to suit your comfort and riding style.
Should A Bike Seat Be Parallel To The Ground?
Yes, a bike seat should be parallel to the ground for optimal comfort and performance.
Conclusion
Installing a bike seat is a simple process that can greatly improve your riding experience. By following the steps outlined in this guide, you can ensure a secure and comfortable seat. Remember to choose the right seat for your bike and body type, and don’t forget to regularly check and adjust the seat for optimal positioning.
With the right installation and adjustment, you’ll be ready to hit the road with confidence and comfort. So get out there and enjoy your rides!