To install bike grips, first, remove the existing grips from the handlebars. Then, apply a small amount of isopropyl alcohol to the inside of the new grips and slide them onto the handlebars, making sure they are securely in place.
Bike grips are an essential component of a comfortable and secure cycling experience. Whether you’re a seasoned cyclist or a casual rider, ensuring that your bike grips are installed properly is crucial for optimal control and comfort. In this guide, we will walk you through the easy steps of installing bike grips, so you can enjoy a smooth and enjoyable ride.
By following these instructions, you’ll be able to replace your worn-out grips or upgrade to a more ergonomic option in no time. So, let’s dive in and learn how to install bike grips like a pro!
Choosing The Right Bike Grips
When it comes to enjoying a comfortable and controlled ride on your bike, having the right bike grips is crucial. Choosing the right bike grips can greatly enhance your cycling experience by improving grip, reducing hand fatigue, and increasing overall comfort. With a wide range of options available in the market, it can be overwhelming to find the perfect grips for your bike. To help you make an informed decision, consider the following factors when selecting bike grips: material, texture, size, and ergonomics.
Factors to Consider when Selecting Bike Grips
Material
The material of your bike grips plays a significant role in determining their durability and performance. Grips are commonly made of rubber, silicone, foam, or a combination of these materials. Rubber grips offer excellent grip and durability, while silicone grips provide a softer and more comfortable feel. Foam grips, on the other hand, are lightweight and absorb shocks, making them ideal for off-road riding. Consider the type of riding you do and choose a material that best suits your needs.
Texture
The texture of bike grips can greatly enhance or hinder your grip on the handlebars. Grips with a ribbed or patterned texture provide additional traction, especially in wet conditions, ensuring your hands stay firmly in place. On the other hand, smooth grips offer a sleek and comfortable feel. Consider the weather conditions you often ride in and choose a texture that will optimize your grip and control on the handlebars.
Size
Selecting the right size of bike grips is essential for a comfortable ride. Grips come in various diameters, typically ranging from 22mm to 35mm. Choosing the correct grip size will depend on your hand size and personal preference. Smaller grips are suitable for riders with smaller hands, while larger grips provide more surface area for riders with bigger hands. It’s important to find a size that allows for a relaxed and natural grip, minimizing strain on your hands and wrists.
Ergonomics
Ergonomics is an important consideration when choosing bike grips as it directly affects your hand and wrist comfort. Ergonomic grips are designed to support the natural shape of your hand, reducing pressure points and the risk of numbness or tingling. Look for grips that have contoured shapes, palm supports, or integrated bar ends to promote a more relaxed and ergonomic hand position while riding. Investing in grips that prioritize ergonomics can significantly improve your riding experience and reduce hand fatigue on long rides.
By carefully considering the material, texture, size, and ergonomics of bike grips, you can find the perfect grips that cater to your specific needs and preferences. Remember, comfort and control are paramount when it comes to enjoying your bike rides, and the right grips can make all the difference.
Removing Old Bike Grips

Removing old bike grips is an essential step in installing new ones. Over time, bike grips can wear out or become damaged, making it necessary to replace them. Fortunately, removing old bike grips is a relatively simple process that can be done with a few basic tools. In this section, we will walk you through the steps to remove bike grips effectively, ensuring a smooth transition to installing new ones.
Steps to Remove Bike Grips
Before you start removing the bike grips, it’s important to prepare your workspace properly. This will ensure that you have everything you need within reach and that you won’t accidentally damage any other parts of your bike in the process.
Preparing the Workspace
- Find a flat surface to work on, preferably with a soft cloth or mat to protect your bike’s frame.
- Gather the necessary tools, including a pair of scissors or a utility knife, and a flathead screwdriver or grip removal tool.
- Position your bike so that the handlebars are easily accessible and secure it in place if necessary.
Loosening the Grip
Now that your workspace is ready, it’s time to loosen the grip from the handlebars. Follow these steps:
- If your bike grips have end caps, gently pry them off using a flathead screwdriver or your fingers. Set them aside in a safe place.
- Insert the tip of your scissors or utility knife between the grip and the handlebars. Be careful not to cut into the handlebars or yourself.
- Rotate the scissors or utility knife, applying gentle pressure, to create a small opening that allows you to insert the flathead screwdriver or grip removal tool.
- Slide the screwdriver or grip removal tool further into the gap and twist it to loosen the grip from the handlebars. Work your way around the entire circumference of the grip, gradually loosening it as you go.
Sliding off the Grip
With the grip loosened, it’s time to slide it off the handlebars. Follow these steps:
- Once the grip feels loose enough, use your hands to slide it off the handlebars. If necessary, you can use the flathead screwdriver or grip removal tool to help pry it off.
- As you remove the grip, be mindful not to damage any other bike components or the grip itself.
- Clean the handlebars thoroughly, removing any residue left behind by the old grip.
And there you have it – the old bike grip is successfully removed! With this step complete, you are now ready to install your new bike grips and enjoy a comfortable and secure ride. Stay tuned for the next section, where we will guide you through the process of installing bike grips.
Preparing The Handlebars
When it comes to installing bike grips, one of the first steps is preparing the handlebars. This ensures a clean and secure surface for the grips to be attached to. In this section, we will cover two important aspects of preparing the handlebars: cleaning the handlebars and applying grip tape (optional).
Cleaning the Handlebars
Cleaning the handlebars is an essential step to ensure proper grip installation. Before beginning, gather the necessary materials: a mild soap or bike-specific cleaner, water, a clean towel, and a brush or sponge.
- Start by removing the old grips, if you have any. Use a flathead screwdriver or grip removal tool to gently loosen and pry them off.
- Once the grips are removed, use the brush or sponge to scrub away any dirt, grease, or residue that may have accumulated on the handlebars. Pay close attention to the areas where the grips will be placed.
- Rinse the handlebars thoroughly with water to remove any remaining soap or cleaner.
- Dry the handlebars completely using a clean towel. Ensure that there is no moisture left that could affect the grip installation.
Applying Grip Tape (Optional)
While not necessary for all types of bike grips, applying grip tape can provide additional support and traction. Here’s how to apply grip tape correctly:
- If you choose to use grip tape, carefully measure the length of your handlebars to determine how much tape you’ll need.
- Peel off the backing of the grip tape and align it with one end of the handlebars.
- Apply the grip tape evenly along the handlebars, making sure there are no wrinkles or bubbles as you go. Use your fingers or a tool to smooth out the tape and press it firmly onto the handlebars.
- Once the tape is fully applied, trim any excess tape with a sharp knife or scissors.
By following these steps, you will have properly prepared your handlebars for the installation of bike grips. This ensures a clean and secure base, allowing for comfortable and efficient riding.
Installing New Bike Grips
When it’s time to install new bike grips, it’s important to do it correctly to ensure a comfortable and secure grip while riding. In this guide, we will walk you through the steps to install new bike grips with ease.
Lubricating the Handlebars
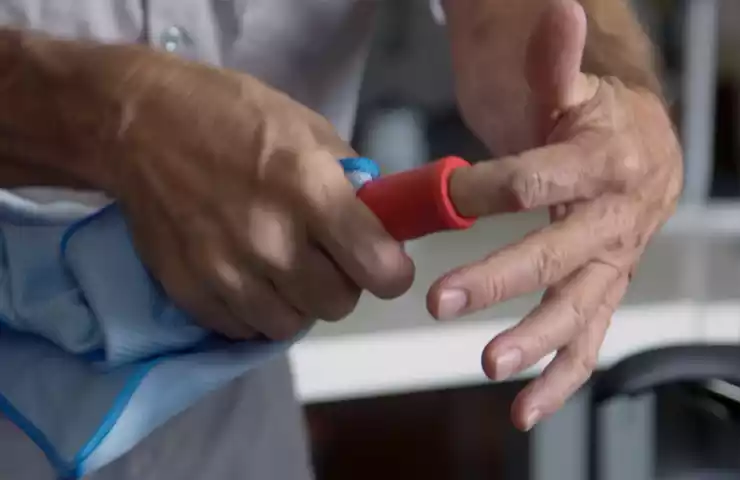
Before installing the new bike grips, it’s a good idea to lubricate the handlebars. This will make the process smoother and allow the grips to slide on more easily. Apply a small amount of lubricant, such as water or soap, onto the handlebars and spread it evenly.
Sliding on the New Bike Grips
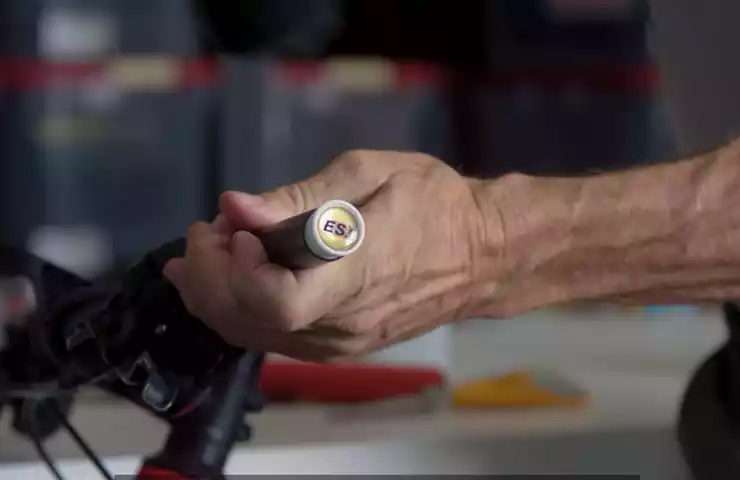
With the handlebars lubricated, it’s time to slide on the new bike grips. Start by aligning the grip with the end of the handlebar. Using a twisting motion and applying gentle pressure, slide the grip onto the handlebar. Continue sliding until the grip is fully in place.
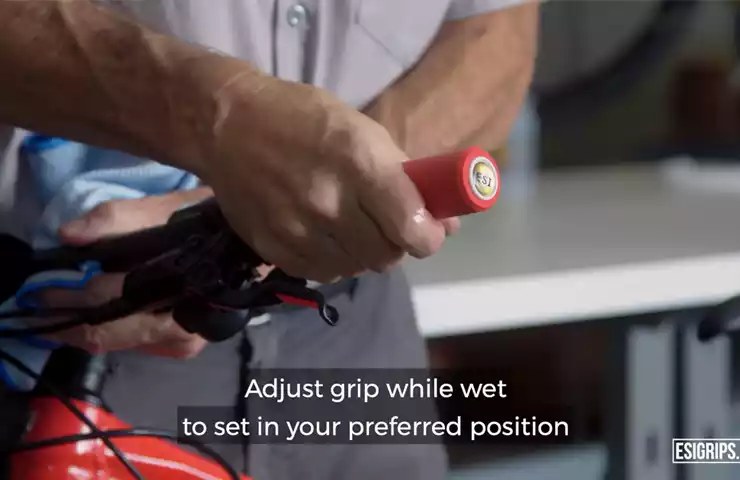
Proper Alignment and Positioning
Once the grips are on, it’s important to ensure they are properly aligned and positioned. Align the grips so that they are parallel to the ground and evenly spaced on both sides of the handlebars. Take note of any markings or patterns on the grips that need to be aligned with specific points on the handlebars.
Securing the Grips
Now that the grips are in the desired position, it’s time to secure them. This can be done using a variety of methods, including zip ties, adhesive, or bar plugs. Follow the instructions provided with your grips to secure them properly. Make sure the grips are tightly secured to prevent any slippage during rides.
By following these simple steps, you can easily install new bike grips and enjoy a comfortable and secure grip while riding. Remember to lubricate the handlebars, slide on the new grips, align them properly, and secure them tightly. With your new grips in place, you’ll be ready to hit the road or trails with confidence!
Alternative Installation Method: Using Compressed Air
When it comes to installing bike grips, there are several methods that you can try. One alternative method that you may find useful is using compressed air. This technique can make the installation process quicker and easier, while ensuring a secure and tight fit for your bike grips.
Using Compressed Air to Install Grips
Using compressed air is a great way to install bike grips without the need for any additional tools. This method works by creating pressure that helps to slide the grip onto the handlebars effortlessly. Follow the steps below to successfully install your bike grips using compressed air.
Preparing the Handlebars and Grip
Before you begin, make sure to clean the handlebars thoroughly and remove any old grips or residue. This will ensure a clean surface for the new grip to adhere to.
Next, apply a small amount of rubbing alcohol or soapy water to the handlebars. This will act as a lubricant and make it easier to slide the grip onto the handlebars.
Inserting the Nozzle
Take the compressed air nozzle and carefully insert it into the open end of the bike grip. Make sure the nozzle is securely inserted to prevent any air leakage during the installation process.
Releasing Compressed Air
Once the nozzle is inserted, align the grip with the handlebars and start releasing the compressed air into the grip. The pressure from the air will cause the grip to expand, making it easier to slide onto the handlebars.
As you release the compressed air, gently twist and push the grip onto the handlebars. The air pressure will facilitate a snug fit, ensuring that the grip stays securely in place while you ride.
Once the grip is fully onto the handlebars, release the compressed air and remove the nozzle. Give the grip a final twist and push to make sure it is properly seated and secure.
In conclusion, using compressed air is an effective alternative method to install bike grips. With this technique, you can achieve a secure and tight fit without the need for additional tools. By following these steps and ensuring proper handlebar preparation, inserting the nozzle correctly, and releasing the compressed air effectively, you can easily install bike grips using this method.
Final Touches And Testing
Now that you have successfully installed the bike grips, it’s time for the final touches and testing to ensure your grips are secure and ready for the road. Follow these steps below:
Trimming Excess Grip Length
After fitting the grips onto your handlebars, you may notice that they extend beyond your preferred length. To get the perfect fit, you’ll need to trim the excess grip length. Here’s how:
- First, put on a protective glove to prevent any accidental injuries.
- Mark the desired length on the grip with a pencil or marker.
- Next, using a sharp utility knife or a pair of scissors, carefully cut along the marked line.
- Make sure to cut straight and smoothly to achieve a clean finish.
Keep in mind that it’s better to start with a longer grip and gradually trim it down than to cut too much off initially.
Checking Grip Security
Before hitting the road, it is crucial to ensure that your bike grips are securely fastened to prevent any accidents or discomfort during your ride. Follow these steps to check the grip security:
- Start by firmly grasping the grips and trying to twist or turn them.
- If there is any noticeable movement or slipping, you’ll need to readjust and tighten them.
- Carefully rotate the grip, moving it clockwise and counterclockwise, to test its stability.
- If you feel any looseness or shifting, it’s necessary to tighten the grip further or reposition it.
Remember, a secure grip is essential for optimum control and stability while riding.
Test Ride and Adjustment
Now that you have trimmed the excess length and ensured the grip security, it’s time for a test ride. Follow these steps to check the grips’ performance and make any necessary adjustments:
- Take your bike to a safe and open area, away from traffic and obstacles.
- Start riding at a slow and comfortable pace, paying attention to how the grips feel in your hands.
- During the ride, take note of any discomfort, slipping, or uneven pressure on your palms.
- If you experience any issues, stop and make adjustments accordingly.
- You can tighten or loosen the grips using the appropriate Allen wrench, based on your preference and comfort.
- After making any adjustments, continue your ride and assess if the grips feel secure and provide the desired level of comfort.
Remember, it may take a few test rides and minor adjustments to find the perfect fit for your bike grips. Take your time and prioritize your safety and comfort.
Frequently Asked Questions Of How To Install Bike Grips
How Do You Install Grips Easily?
To install grips easily, start by removing the old grips from your handlebars. Apply a liberal amount of grip glue or spray adhesive to the inside of the new grips. Slide them onto the handlebars, making sure they are aligned properly.
Allow the adhesive to dry before using your bike.
How Do I Get My Bike Grips To Stick?
To make your bike grips stick: 1. Clean the handlebars thoroughly. 2. Apply grip glue or adhesive to the handlebars. 3. Slide the grips onto the handlebars carefully. 4. Use compressed air or soapy water to help the grips slide on.
5. Allow the grips to dry and set before riding your bike.
How Do You Put Grips On Without Grip Glue?
To put on grips without grip glue, follow these steps: 1. Wet the handlebars or grips with soapy water. 2. Slide the grips onto the handlebars. 3. Use rubbing alcohol to clean the inside of the grips and handlebars. 4.
Let the alcohol evaporate and the grips will stick in place. 5. Tighten the grips as needed.
Are Bike Grips Glued On?
Bike grips are not typically glued on. They are usually slid onto handlebars and secured with tightening mechanisms.
Conclusion
Installing bike grips is an essential skill every cyclist should have. With the step-by-step guide provided in this blog post, you can easily install your bike grips without any hassle. Remember to choose the right grips for your comfort and safety.
By following the instructions carefully, you will be able to enhance your bike’s grip and control, making your riding experience more enjoyable. Happy biking!