Install an air horn on a semi by connecting it to the vehicle’s pneumatic system and securing it in a suitable location. Semi-trucks are powerful vehicles that often require additional safety features to alert other drivers on the road.
One such feature is an air horn, which provides a loud and distinct sound to grab attention. Installing an air horn on a semi involves connecting it to the vehicle’s pneumatic system and mounting it securely on the truck. This ensures that the horn functions properly and is easily accessible when needed.
We will guide you through the steps to install an air horn on a semi, ensuring the safety and effectiveness of the installation.
Tools And Materials Needed
Installing an air horn on your semi-truck can not only boost its safety features but also ensure that your presence on the road is heard. To successfully install an air horn, you will need a variety of tools and materials. Here is a comprehensive list of everything you will need to get the job done:
Air horn kit
An air horn kit is the foundation of this installation. It typically includes the necessary components such as the horn itself, an air compressor, and all the accompanying hardware.
Drill
A drill will be essential for creating the necessary holes to mount your air horn and secure it in place. Make sure you have a suitable drill bit that matches the diameter specified in the installation instructions.
Screwdriver
Having a reliable screwdriver will be crucial for putting together and securing the various components of your air horn kit. Ensure that it is compatible with the screws provided in the kit.
Mounting brackets
Mounting brackets are specifically designed to hold the air horn in place on your semi-truck. These brackets typically come with pre-drilled holes for easy installation.
Electrical connectors
Electrical connectors are vital for establishing the electrical connections between the air horn and the wiring system of your truck. They ensure a secure and reliable connection.
Wiring harness
The wiring harness serves as a conduit for the electrical wiring, ensuring a neat and organized installation. It simplifies the collection of wires and reduces the risk of damage or disconnection.
Fuse holder
A fuse holder is essential to protect your air horn and the electrical system of your truck from any potential electrical faults. It acts as a safety measure by preventing excessive current flow.
Wrench
A wrench is necessary for tightening the bolts and nuts during the installation process, ensuring that the air horn and its components are securely fastened.
Electrical tape
Electrical tape is used to insulate and protect the electrical connections from moisture and potential short circuits. It helps ensure the longevity and reliability of your air horn system.
Safety goggles
When working with tools and materials, safety should always be a top priority. Wearing safety goggles will protect your eyes from any debris or potential hazards during the installation process.
Preparing Your Semi For Air Horn Installation
Before you can enjoy the thundering sound of an air horn on your semi, it’s important to properly prepare your vehicle for installation. This involves assessing the space available for the horn, removing any obstacles or interfering parts, and ensuring safety measures are in place. Follow these steps to efficiently prepare your semi for the installation of an air horn:
<h3>Assessing the space for installation</h3>
The first step in preparing your semi for an air horn installation is to assess the available space. An air horn typically requires ample room to be properly mounted and function effectively. Measure the designated area to ensure it meets the recommended space requirements, considering both the height and width. It’s important to ensure that the air horn will not obstruct any other components or impede the functionality of the vehicle.
<h3>Removing any obstacles or parts that may interfere</h3>
Once you have identified the suitable space for the air horn, it’s essential to remove any obstacles or interfering parts that may hinder the installation process. Inspect the chosen location and identify any components, cables, or fixtures that may be in the way. Carefully disconnect and remove these obstructions to create a clear and unobstructed area for the air horn. Be cautious during this step to avoid damaging any essential parts of your semi.
<h3>Ensuring safety measures are in place</h3>
When installing an air horn on your semi, safety should always be a top priority. Before proceeding with the installation, ensure that all necessary safety measures are in place. This includes wearing appropriate protective gear such as gloves and safety goggles. Additionally, disconnect the vehicle’s battery to prevent accidental electrical shocks during the installation process. Remember, safety is paramount, so take the necessary precautions to secure a safe and successful installation.
By following these steps to prepare your semi for the installation of an air horn, you’ll create a solid foundation for a seamless and efficient installation process. Assessing the space, removing obstacles, and prioritizing safety measures will help ensure a successful outcome, allowing you to enjoy the powerful and attention-grabbing sound of your new air horn.
Installing The Air Horn
Installing an air horn on your semi can be a game-changer when it comes to alerting other drivers on the road. Not only does it provide a louder and more attention-grabbing sound, but it can also enhance the safety of your vehicle. In this section, we will guide you through the step-by-step process of installing an air horn on your semi, from locating the ideal spot to testing the functionality of the horn.
Locating the ideal spot for the air horn installation
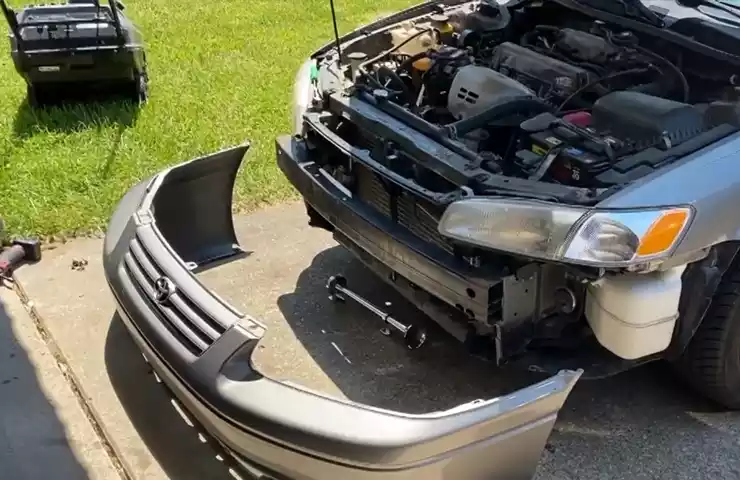
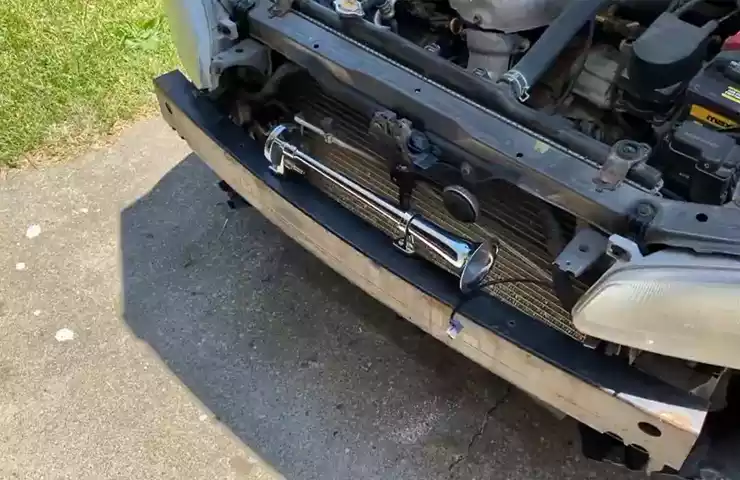
The first step in installing an air horn on your semi is finding the perfect location. Look for an area on the front exterior of your vehicle that allows for easy access and maximum sound projection. It’s essential to choose a spot that won’t interfere with other components or restrict airflow. Usually, the area behind the grille or on the roof near the cab is ideal.
Mounting the brackets securely
Once you’ve pinpointed the ideal spot, it’s time to mount the brackets securely. Use the provided hardware and ensure the brackets are firmly attached to the chosen location. Make sure they are aligned perfectly to hold the weight of the air horn assembly, ensuring stability while driving.
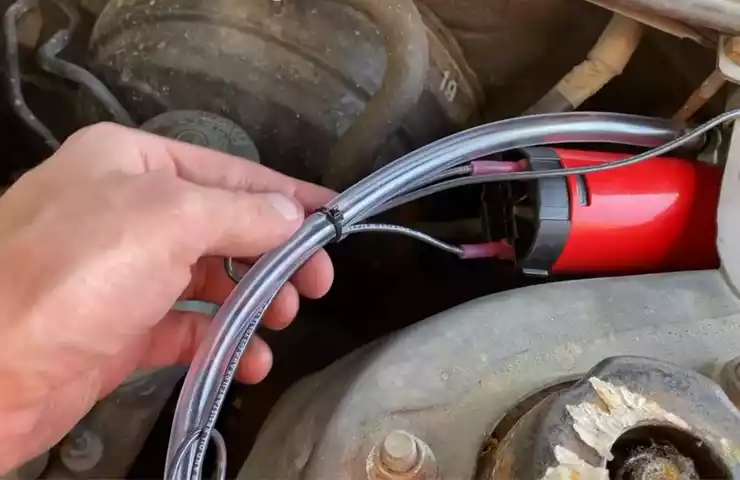
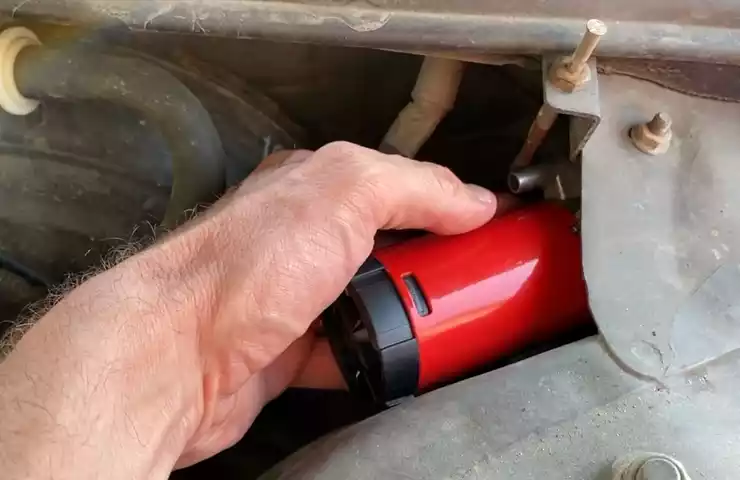
Connecting the air compressor and horn assembly
The next step involves connecting the air compressor and horn assembly. Follow the manufacturer’s instructions carefully to make the proper connections. Typically, this involves attaching the air compressor to a power source and connecting it to the horn assembly using the provided hoses. Ensure all connections are tight and secure to prevent any air leaks.
Running the necessary wiring through the vehicle
Once the hardware is in place, it’s time to run the necessary wiring through your semi. Carefully thread the wires along the existing wiring harnesses or frame rails to maintain a clean and organized appearance. Be cautious to avoid any potential pinch or damage points that could affect the functionality of the horn or other components.
Securing the wiring with electrical tape
After running the wiring, take the time to secure it properly using electrical tape. Wrap the tape tightly around any exposed wires, ensuring they are protected against moisture, friction, and potential damage. This step is crucial for maintaining a reliable electrical connection and preventing any future issues with the air horn installation.
Testing the air horn functionality
Finally, it’s time to test the air horn functionality and ensure everything is working correctly. Have someone else stand outside the vehicle, and from the driver’s seat, activate the horn. Listen for a loud, clear sound, indicating that the installation was successful. Make any necessary adjustments if the sound is muffled or not as expected. Once satisfied, you can embark confidently on your travels, knowing your air horn is in prime working condition.
Wiring And Electrical Connections
When it comes to installing an air horn on your semi-truck, properly wiring and making the necessary electrical connections is crucial. This ensures that the horn functions correctly and provides you with the loud and attention-grabbing sound you desire. In this section, we will guide you through the process of wiring and connecting the various components of your air horn system.
Selecting the appropriate wiring harness
Before beginning the installation, it is important to select the right wiring harness for your air horn system. This will depend on the specific make and model of your semi-truck, as well as the type of air horn you have chosen. Ensure that the wiring harness you choose is compatible with your truck’s electrical system and provides the necessary connections for the air compressor and horn assembly.
Connecting the wiring harness to the battery
The first step in the wiring process is to connect the wiring harness to the battery. Locate the positive and negative terminals of your battery and connect the appropriate wires from the wiring harness. It is essential to ensure proper polarity during this step to prevent any damage or malfunctioning of the air horn system.
Locating a suitable place for the fuse holder
In order to protect the electrical components of your air horn system, it is important to include a fuse holder. This will prevent any potential electrical overload or damage. Find a suitable location for the fuse holder near the battery, ensuring it is easily accessible for future maintenance or troubleshooting.
Connecting the wiring harness to the air compressor and horn assembly
Next, you will need to connect the wiring harness to both the air compressor and the horn assembly. Refer to the user manual or instructions provided with your air horn system for specific wiring connections. Make sure to secure these connections properly and check for any loose or exposed wires that may cause faulty operation.
Testing the electrical connections for proper functionality
Once all the wiring and electrical connections have been made, it is essential to test the system for proper functionality. Start by activating the horn and checking for any unusual sounds or vibrations. Ensure that the horn produces the desired loud sound and that all electrical components are working as intended. This will ensure that your air horn system is ready for use and will grab the attention of others on the road when needed.
By following these steps and properly wiring and making the necessary electrical connections, you can rest assured that your air horn system will work reliably and provide you with the powerful sound you desire. Take the time to double-check all the connections and perform regular maintenance to ensure the longevity of your air horn and the safety of everyone on the road.
Additional Considerations And Troubleshooting Tips
When it comes to installing an air horn on your semi-truck, there are a few additional considerations and troubleshooting tips that you should keep in mind. These tips will not only help ensure a successful installation but also address any common issues that may arise during the process. From adjusting the sound level of the air horn to securing loose wires and connections, here’s what you need to know.
Adjusting the air horn’s sound level
One of the first things you may want to do after installing an air horn on your semi-truck is to adjust its sound level. Depending on your preference and the specific regulations in your area, you may want to make the sound louder or softer.
To adjust the sound level, you will typically need to locate the sound adjuster screw on the air horn unit. Often, this screw can be found on the top or side of the unit. Using a flathead screwdriver, turn the screw clockwise to increase the sound level or counterclockwise to decrease it.
Securing any loose wires or connections
During the installation process, it’s crucial to ensure that all wires and connections are properly secured. Loose wires can not only affect the performance of the air horn but also pose a safety hazard.
Start by inspecting all the connections and terminals. Ensure that each wire is securely connected, and there are no loose or frayed ends. If you find any loose connections, use electrical tape or cable ties to secure them tightly.
Ensuring a proper grounding connection
A proper grounding connection is essential for the air horn to function effectively. Without it, the horn may produce weak or inconsistent sound. So, it’s crucial to check and ensure that the grounding connection is solid.
Locate the grounding wire coming from the air horn and check if it is securely connected to a metal part of your semi-truck. If it isn’t, use a wire brush to clean the surface and then reattach the wire. This will ensure a strong grounding connection.
Troubleshooting common issues with air horn installations
Despite following the installation instructions carefully, you may encounter some common issues with your air horn. Here are a few troubleshooting tips to help you address them:
| Issue | Troubleshooting Tip |
|---|---|
| No sound when the horn button is pressed | Check the wiring connections and ensure they are secure. Also, verify that the fuse for the air horn is intact. |
| Horn sound is weak or inconsistent | Make sure the grounding connection is properly established. Clean the grounding surface and reattach the grounding wire if necessary. |
| Horn produces a continuous sound | Check the air line connections and ensure they are securely attached. Additionally, inspect the air compressor for any issues. |
By troubleshooting these common issues, you can quickly identify and resolve any problems that may arise after installing your air horn.
Taking necessary precautions during installation
When installing an air horn on your semi-truck, it’s crucial to take necessary precautions to avoid any damage to the vehicle’s electrical system. Here are a few steps you should follow:
- Disconnect the negative terminal of the battery: Before starting the installation, disconnect the negative terminal of the battery to prevent any accidental electrical shorts.
- Follow the manufacturer’s instructions: Carefully read and follow the instructions provided by the air horn manufacturer to ensure a safe and proper installation.
- Protect the wires: Route the wires away from any moving parts or areas of high heat, and use wire loom or conduit to protect them from damage.
- Test the horn before finalizing the installation: After completing the installation, test the air horn to ensure it functions correctly before securing all the components in place.
By taking these necessary precautions, you can minimize the risk of electrical damage and ensure a successful air horn installation on your semi-truck.
Maintenance And Care
The maintenance and care of your air horn are crucial to ensuring its longevity and optimal performance on your semi-truck. Regular inspection, cleaning, lubrication, and component replacements are essential practices that should be incorporated into your maintenance routine. Follow the guidelines mentioned below to keep your air horn in top shape.
Regular inspection of the air horn for any signs of damage or wear
To maintain the functionality of your air horn, it is necessary to perform regular inspections for any signs of damage or wear. Here are a few steps to follow during your inspection:
- Visually examine the air horn and its components for any cracks, dents, or loose connections.
- Check the mounting brackets and ensure they are secure and free from any damage.
- Inspect the hoses for any leaks or signs of deterioration.
- Test the air horn by activating it to ensure it produces the desired sound and volume.
Cleaning the air horn components to prevent debris buildup
Regular cleaning of the air horn components is essential to prevent debris buildup, which can affect the performance of your air horn. Follow these steps for effective cleaning:
- Detach the air horn from its mounting brackets to gain access to the components.
- Use a mild detergent mixed with water to clean the air horn, ensuring all the surfaces are thoroughly rinsed.
- Remove any dirt or debris from the air horn’s diaphragm and valve using a soft brush or cloth.
- Inspect the air horn’s trumpet and clean it using a mild detergent solution, removing any accumulated dirt or grime.
- Rinse all the components with clean water and ensure they are completely dry before reassembling the air horn.
Lubricating moving parts for optimal performance
Lubrication plays a crucial role in maintaining the smooth operation of your air horn’s moving parts. Here’s how you can ensure optimal lubrication:
- Use a high-quality aerosol lubricant specifically designed for air horns.
- Apply a small amount of lubricant to the moving parts, including the diaphragm and valve.
- Ensure an even distribution of the lubricant and wipe off any excess with a clean cloth.
- Test the air horn after lubrication to verify its smooth functioning.
Replacing worn-out components as needed
Over time, certain components of your air horn may wear out and require replacement. Follow these steps for effective component replacement:
- Identify the worn-out component by assessing its condition during regular inspections.
- Acquire a suitable replacement component from a reliable automotive parts supplier.
- Disconnect the air horn from the air supply and carefully remove the worn-out component.
- Install the new component, ensuring it is securely attached and properly aligned.
- Reconnect the air horn to the air supply and test it to verify that the replacement has resolved any issues.
By incorporating regular inspection, cleaning, lubrication, and component replacement into your maintenance routine, you can ensure that your air horn on your semi-truck remains in excellent condition, delivering a powerful sound whenever needed. Taking care of your air horn not only prolongs its lifespan but also enhances your overall safety on the road.
Frequently Asked Questions On How To Install Air Horn On Semi
Where Do You Mount Train Horns On A Semi Truck?
Mount train horns on a semi truck by attaching them to the frame or undercarriage. Choose a secure location that won’t interfere with other truck components. Consult the horn manufacturer’s instructions for precise installation steps. Remember to consider state and local regulations regarding horn use.
Do Air Horns Need A Compressor?
Yes, air horns require a compressor to produce the loud sound. The compressor pressurizes the air, which is then released through the horn to create the loud noise.
How Much Psi Does An Air Horn Need?
An air horn typically needs around 90 to 120 PSI (pounds per square inch) to produce a loud and clear sound. Higher PSI can result in a louder sound, but it’s important to check the manufacturer’s recommendations to avoid damaging the air horn or the air system.
Do You Need A Relay For Air Horns?
Yes, you need a relay for air horns. A relay ensures that the horns receive enough power to operate properly.
Conclusion
Installing an air horn on your semi-truck is a simple yet effective way to enhance safety and ensure your presence is unmistakable on the road. By following the step-by-step guide provided in this blog post, you can easily install an air horn and enjoy the benefits it brings.
So, don’t wait any longer; equip your semi with an air horn and stay alert in any situation. Drive safely, and let the powerful sound of your air horn keep you protected!