To install a tire, first, remove the old tire by loosening the lug nuts and lifting the car with a jack. Then, align the new tire with the wheel studs, tighten the lug nuts, and lower the car back to the ground.
Installing a tire may seem like a daunting task, but with a few simple steps, you can easily replace your old tire with a new one. Whether you’re a car enthusiast or a regular driver, knowing how to install a tire is a skill that can come in handy when faced with a flat or worn-out tire.
We’ll guide you through the process of installing a tire step by step, so you can confidently and safely get back on the road in no time. So, let’s dive in and learn how to install a tire correctly.
Preparation Before Installing The Tire
Before you start installing a new tire on your vehicle, it’s important to prepare yourself and your surroundings. By taking a few simple steps, you can ensure a smooth and safe tire installation process. In this section, we will discuss the necessary tools and equipment you’ll need, as well as proper vehicle positioning and hubcap removal to get you ready for installing the tire.
Gather the Necessary Tools and Equipment
Having the right tools and equipment is essential for a successful tire installation. Before you begin, make sure you have the following items:
- Tire iron or wrench
- Jack
- Wheel chocks
- Tire pressure gauge
- New tire
These tools will enable you to safely remove the old tire and install the new one.
Position Your Vehicle in a Safe and Stable Area
Choosing an appropriate location to install the tire is crucial for your safety. Follow the steps below to position your vehicle correctly:
- Select a level and flat surface away from traffic.
- Turn off your engine and engage the parking brake.
- If possible, place wheel chocks in front of and behind the tire opposite to the one you’re installing.
Securing your vehicle in this manner will help prevent any accidental roll or movement during the tire installation process.
Engage the Parking Brake and Remove the Hubcap
Before removing the tire, ensure you engage the parking brake. This will provide an extra layer of safety and stability to your vehicle throughout the installation process.
Removing the hubcap is the next step. Follow these simple steps:
- Locate the hubcap on the wheel.
- Using a tire iron or wrench, carefully loosen and remove the lug nuts holding the hubcap in place.
- Take off the hubcap and set it aside in a safe location.
Removing the hubcap will allow you to access the lug nuts and wheel, making the tire installation process much easier.
By following these preparation steps, you’ll be ready to install the tire with confidence, ensuring a safe and successful experience. Stay tuned for our next section on the actual tire installation process!
Removing The Flat Tire
When you find yourself with a flat tire, it’s important to know how to remove it properly to ensure your safety and the effectiveness of the installation process. Follow these steps to safely remove the flat tire:
Loosen the lug nuts with a wrench in a specific order
The first step in removing a flat tire is to loosen the lug nuts. Using a wrench, start by turning the lug nuts counterclockwise in a specific order. This specific order will help prevent any damage to your vehicle’s wheel hub. It is often recommended to loosen the lug nuts in a star pattern, going from one nut to the opposite nut, and continuing in that sequence.
Lift the vehicle using a jack and secure it with jack stands
After loosening the lug nuts, it’s time to lift the vehicle off the ground. Place the jack in the designated area, which is usually indicated in your vehicle’s owner’s manual. Pump the jack handle up and down until the vehicle is lifted to a safe and comfortable height. Remember to place the jack stands under the vehicle for additional support before fully removing the tire.
Below is a simple guide to lift the vehicle using a jack:
- Locate the recommended lifting points for your vehicle. These can usually be found in your owner’s manual.
- Position the jack under the appropriate lifting point and ensure it is securely in place.
- Using the jack handle, pump the jack up and down until the vehicle is lifted to the desired height.
- Place the jack stands under the vehicle near the jack points and carefully lower the vehicle onto the stands.
Completely remove the lug nuts and take off the flat tire
With the vehicle lifted and secured, it’s now time to remove the lug nuts completely and take off the flat tire. Turn the lug nuts counterclockwise until they are loose enough to unscrew by hand. Set the lug nuts aside in a safe place to avoid misplacing them.
To remove the flat tire, firmly grip it by the treads and carefully pull it straight off the wheel hub. In case the flat tire is stuck, gently kick the tire from behind to loosen it until it can be easily removed.
Remember to inspect the wheel hub and brake components for any signs of damage or wear. If you notice any issues, it’s recommended to consult a professional before proceeding with the installation of the new tire.
Now that you have successfully removed the flat tire, it’s time to move on to the next step of installing the new one. Stay tuned for our upcoming blog post on How to Install a Tire!
Installing The New Tire
After removing the old tire, it’s time to move on to the next step: installing the new tire. This step is crucial to ensure your safety and the proper functioning of your vehicle. In this section, we will guide you through the process of installing the new tire with easy-to-follow steps. By following these instructions, you’ll be able to complete this task efficiently and effectively.
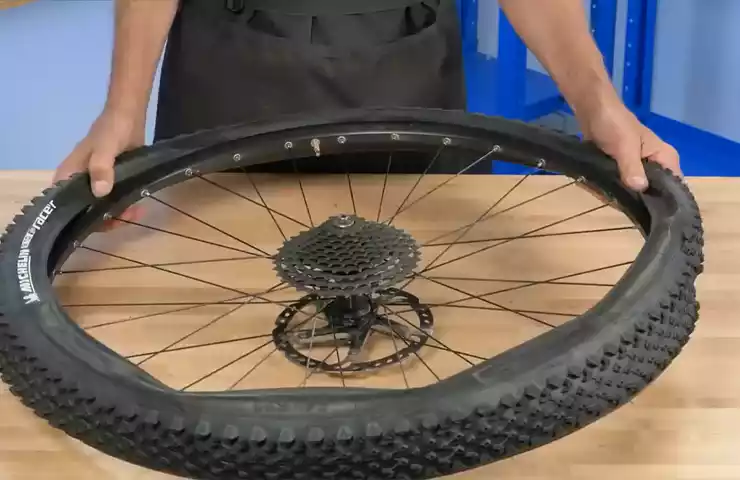
Position the new tire onto the wheelbase correctly
Before installing the new tire onto the wheelbase, it’s important to position it correctly. Start by aligning the wheel with the lugs on the hub. Ensure that the holes on the wheel and the lugs are correctly aligned. This step is essential to prevent any issues with the tire’s fitment and overall balance. Take your time to align the wheel properly to ensure a smooth and secure installation.
Hand-tighten the lug nuts in a star pattern
Once the new tire is properly positioned, it’s time to start tightening the lug nuts. Begin by hand-tightening each lug nut in a star pattern. This means tightening the lug nuts in a sequence that resembles a star’s points. By following this pattern, you evenly distribute the pressure on the tire, ensuring a secure fit. Tighten each lug nut until it is snug, but do not fully tighten them at this stage.
Lower the vehicle and remove the jack stands
After hand-tightening the lug nuts, it’s time to lower the vehicle back onto the ground. Carefully remove the jack stands and lower the vehicle slowly until it rests on all four wheels. This step is crucial to assess the tire’s alignment and positioning. Once the vehicle is lowered, double-check that the wheel is centered and aligned correctly. This will help maintain the balance and stability of the vehicle while driving.
Finish tightening the lug nuts with a wrench
Now that the vehicle is back on the ground, it’s time to fully tighten the lug nuts using a wrench. Start by tightening each lug nut in the same star pattern as before. Apply gradual force to ensure the lug nuts are securely tightened. Avoid over-tightening, as this can lead to damage or stripped threads. Each lug nut should be tightened until it is fully secure, creating a strong connection between the wheel and the hub.
Congratulations! You have successfully installed the new tire onto your vehicle. By following these steps, you have ensured a proper fit and secure installation, promoting optimal performance and safety. As a final tip, remember to regularly check the lug nut torque and tire pressure to maintain the integrity of your newly installed tire.
Ensuring Proper Tire Installation
Proper tire installation is crucial for the safety and optimal performance of your vehicle. By following a few essential steps, you can ensure that your tires are installed correctly, providing you with a smooth and worry-free driving experience. In this section, we will discuss three important aspects of tire installation that you should pay close attention to: checking the tire pressure, inspecting the tire for any damages or defects, and verifying the tightness of the lug nuts.
Check the tire pressure using a pressure gauge
Checking the tire pressure before installing your new tire is essential. Proper tire pressure not only ensures a safe and comfortable ride but also enhances tire longevity and fuel efficiency. To check the tire pressure, follow these steps:
- Remove the valve cap from the tire’s valve stem.
- Place the pressure gauge onto the valve stem, making sure it is firmly seated.
- Read the pressure gauge and compare it to the recommended psi (pounds per square inch) indicated by the vehicle manufacturer.
- If the pressure is lower than recommended, add air until it reaches the correct psi. If the pressure is higher, release some air until it reaches the recommended level.
- Once the correct tire pressure is achieved, replace the valve cap securely.
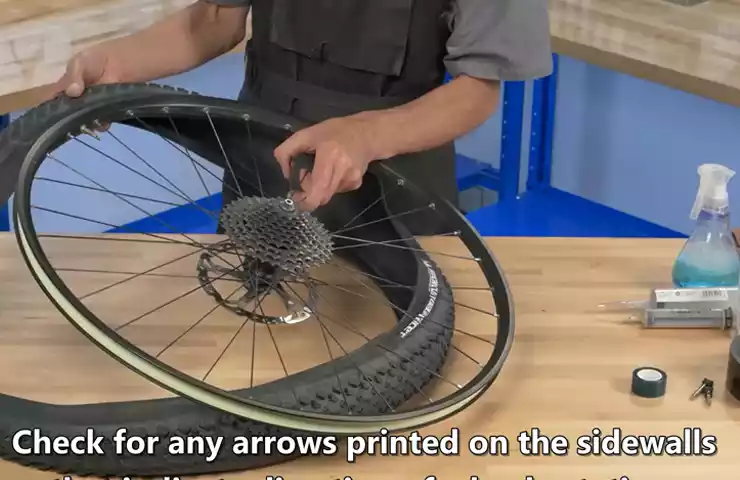
Inspect the tire for any damages or defects
Before installing a tire, it’s crucial to inspect it carefully for any damages or defects. This step ensures that you are not installing a faulty or compromised tire that could jeopardize your safety on the road. Follow these guidelines to inspect your tire:
- Check for cuts, punctures, bulges, or any visible signs of damage on the sidewall and tread of the tire. If you notice any, do not proceed with the installation and consult a professional for further guidance.
- Examine the tire for any visible defects such as uneven tread wear or missing chunks of rubber. These could indicate alignment issues or tire manufacturing problems.
- Inspect the tire for any foreign objects like nails or screws embedded in the tread. These can cause punctures and affect tire performance.
- Ensure that the tire is free from any debris like stones or glass shards, as they could potentially cause further damage.
Verify that all lug nuts are securely tightened
Properly tightened lug nuts are crucial to prevent accidents and ensure the stability of your tires. Failing to tighten them correctly can lead to wheel detachment and loss of vehicle control. Follow these steps to verify the tightness of the lug nuts:
- Using a wrench or a tire iron, check if all lug nuts are securely fastened by turning them clockwise. Ensure each lug nut is tightened as much as possible without over-tightening.
- Ensure that all lug nuts are tightened in a consistent and even pattern to distribute the load equally.
- Recheck the tightness of the lug nuts after driving a short distance to ensure they haven’t loosened.
By following these steps, you can guarantee proper tire installation and enjoy a safe and hassle-free driving experience. Remember, if you’re uncertain about any aspect of tire installation, it’s always best to seek professional assistance to ensure your safety on the road.
Frequently Asked Questions For How To Install A Tire
Can You Install Tires Yourself?
Yes, you can install tires yourself. It’s a straightforward process that can save time and money. Just follow the manufacturer’s instructions and ensure you have the necessary tools. Remember to properly balance and align the tires for optimal performance and safety.
What Are The Steps To Install A Tire On A Wheel?
To install a tire on a wheel, follow these steps: 1. Secure the wheel in a tire machine. 2. Apply lubricant to the wheel and tire bead. 3. Place the tire onto the wheel, making sure it’s aligned properly. 4.
Use a tire machine to mount the tire onto the wheel. 5. Inflate the tire to the recommended pressure.
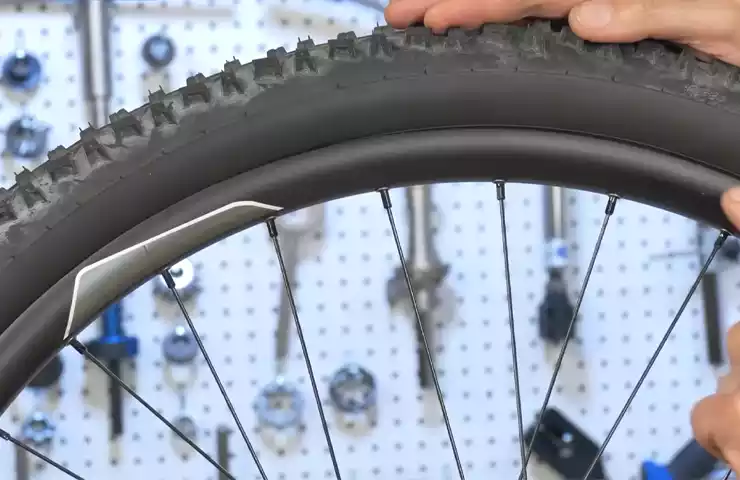
How Do You Mount A Tire Without A Machine?
To mount a tire without a machine, follow these steps: First, lubricate the rim and tire bead with soapy water. Then, use tire levers to pry the tire onto the rim, starting opposite the valve stem. Push the remaining bead onto the rim using your hands or a rubber mallet.
Finally, inflate the tire to the recommended pressure.
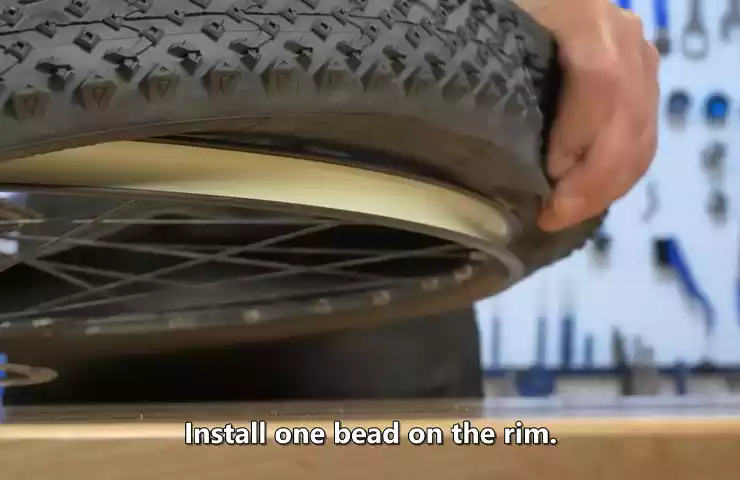
How Do You Put A Tire Back On A Bead?
To put a tire back on a bead, carefully align the tire with the rim and apply gentle pressure to the center of the tire. Gradually work your way around the tire, pushing it onto the rim until it pops into place.
Finally, inflate the tire to the recommended pressure.
Conclusion
Learning how to install a tire is a valuable skill that can save you time and money. With the step-by-step guide provided, you can confidently tackle this task on your own. Remember to conduct regular tire maintenance and inspections for optimal performance and safety.
By following these guidelines, you’ll be on your way to a smooth and hassle-free tire installation process.