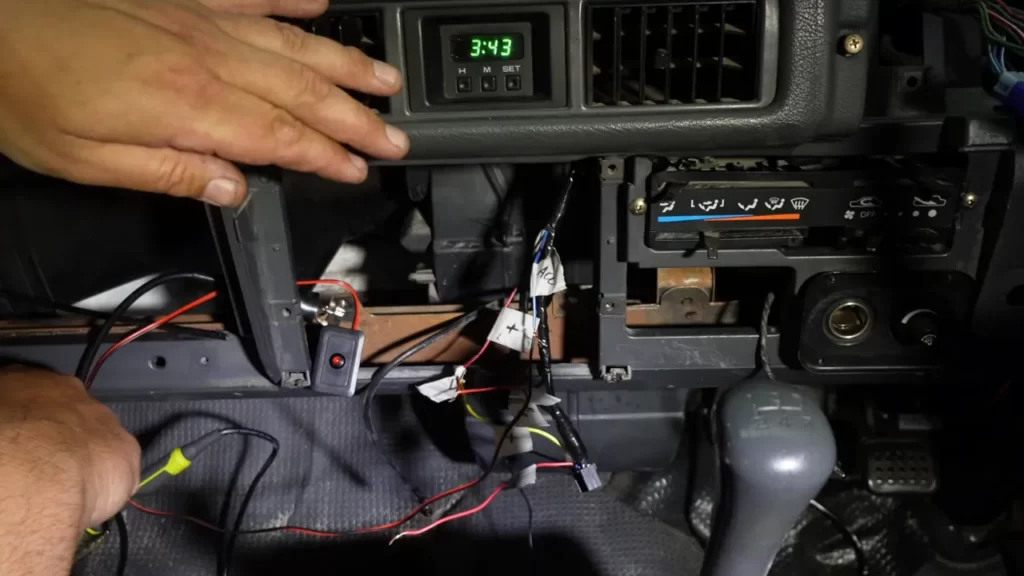
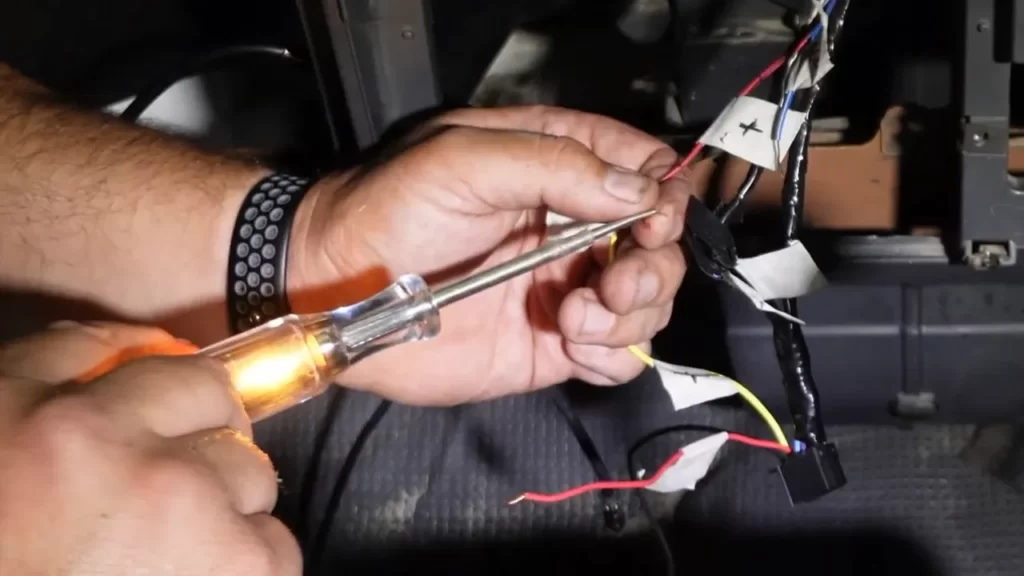
To install a rear dash cam, first gather the necessary tools and mount the camera securely to the rear windshield. Run the power cable along the headliner, conceal it in the weather stripping and connect it to a power source in the vehicle.
Then, configure the settings and adjust the camera angle as desired.
The Importance Of Rear Dash Cams
Provides evidence in case of accidents
One of the main reasons why rear dash cams are important is that they provide valuable evidence in case of accidents. Accidents can happen to anyone, and when they do, having a rear dash cam installed in your car can be a game-changer. The rear dash cam records the happenings behind your vehicle, allowing you to capture any incidents that occur while you are driving. In the unfortunate event of an accident, having video evidence from the rear dash cam can help determine who was at fault and provide crucial information for insurance claims or legal proceedings(if necessary).
Helps deter theft and vandalism
Another crucial reason why installing a rear dash cam is important is that it helps deter theft and vandalism. Cars are often targets for thieves and vandals, and having a rear dash cam as an extra layer of security can discourage potential wrongdoers. The presence of a visible rear dash cam can act as a deterrent, as thieves and vandals are more likely to think twice before targeting a vehicle equipped with this surveillance device. In the event of theft or vandalism, the rear dash cam’s recorded footage can also help identify the culprits and provide evidence for police investigations(if necessary).
Choosing The Right Rear Dash Cam
Installing a rear dash cam can provide an added layer of safety and security while you’re on the road. With so many options available in the market, it’s important to choose the right rear dash cam that matches your needs and preferences.
Factors to consider when selecting a dash cam
Before making a purchase decision, it’s essential to consider some key factors that can help you choose the right rear dash cam for your vehicle:
- Video quality: Look for a dash cam that offers high-resolution video recording. This ensures clear and crisp footage, making it easier to identify details in case of an incident.
- Viewing angle: The viewing angle of the rear dash cam determines the width of the captured footage. A wide-angle lens provides a broader view, minimizing blind spots.
- Storage capacity: Consider the amount of storage space available on the dash cam. Opt for one that supports external memory cards so that you can store more footage without worrying about running out of space.
- Loop recording: Dash cams with loop recording overwrite older footage once the storage is full. This feature ensures that the camera keeps recording continuously without the need to manually clear the memory.
- Night vision: If you frequently drive during nighttime or low-light conditions, look for a rear dash cam with advanced night vision capabilities. This ensures clear recording even in dark environments.
- G-sensor: A built-in G-sensor automatically detects sudden changes in motion and locks the footage, protecting it from being overwritten. This feature is crucial in capturing and preserving evidence in the event of an accident.
Recommended features for a rear dash cam

When it comes to installing a rear dash cam, certain features can greatly enhance its effectiveness and usefulness:
- Dual-channel recording: Opt for a rear dash cam that supports dual-channel recording, allowing simultaneous recording of both the front and rear views. This provides comprehensive coverage and a complete picture of any incident.
- Wide dynamic range (WDR): WDR technology balances the exposure in both bright and dark areas, resulting in more detailed and balanced footage. It ensures that important details are not lost due to overexposure or underexposure.
- Wi-Fi connectivity: Choose a rear dash cam that offers Wi-Fi connectivity, enabling you to connect to its companion app on your smartphone. This allows you to easily access and download recordings, adjust settings, and share footage with others.
- Parking mode: Look for a rear dash cam with a parking mode feature that automatically starts recording when motion or impact is detected while your vehicle is parked. This can be extremely useful in capturing any incidents that occur when you’re away from your vehicle.
By considering these factors and recommended features, you can make an informed decision when selecting the right rear dash cam for your needs. Remember to research different brands and models, read reviews, and ensure that the dash cam you choose fits your budget and requirements. Installing a rear dash cam not only enhances your safety on the road but also provides peace of mind knowing that you have a reliable and trustworthy witness in case of any incidents.
Step-By-Step Guide To Installing A Rear Dash Cam

Step-by-Step Guide to Installing a Rear Dash Cam
Installing a rear dash cam in your vehicle can provide you with peace of mind and valuable evidence in case of an accident. While the process may seem daunting, it can be completed by following a few simple steps. In this step-by-step guide, we will walk you through each stage of the installation process, from choosing the right positioning to adjusting the camera angle and setting up the recording modes. So, let’s get started!
List of tools and materials needed
Before you begin the installation, make sure you have the following tools and materials on hand:
- Rear dash cam kit
- Mounting bracket
- Adhesive pads
- Microfiber cloth
- Alcohol wipes
- Cable routing tool (if necessary)
- Power cables and connectors
- Fuse tap or wire splicer
- Trim removal tool
- Screwdriver or drill
Factors to consider when positioning the dash cam
Choosing the right position for your rear dash cam is crucial for optimal performance. Consider the following factors:
- Line of sight: Ensure the dash cam has an unobstructed view of the road behind your vehicle.
- Visibility: Make sure the camera does not interfere with your rearview mirror or obstruct your vision.
- Legal regulations: Familiarize yourself with your local laws regarding dash cam placement.
Cleaning the mounting surface
Before attaching the dash cam to your rear windshield, it is essential to clean the mounting surface. Follow these steps:
- Use a microfiber cloth to remove any dust or debris from the windshield.
- Gently wipe the mounting area with an alcohol wipe to ensure a clean surface.
Removing any obstacles
Prior to attaching the dash cam, check for any obstacles that may obstruct the installation process. This may include:
- Rearview mirror: Adjust the mirror if necessary to create space for the dash cam.
- Wiring: Secure any loose or dangling wires to prevent interference with the installation.
Different mounting options
There are various mounting options available for installing a rear dash cam. Here are a few popular methods:
| Mounting Option | Description |
|---|---|
| Adhesive Mount | Attaches directly to the windshield using adhesive pads. |
| Suction Cup Mount | Uses a suction cup to attach the dash cam to the windshield. |
| Vent Mount | Attaches to the air vent using a clip or magnet. |
| Bracket Mount | Mounts the dash cam onto a bracket that is screwed into place. |
Step-by-step instructions for each option

Depending on the mounting option you choose, follow these step-by-step instructions:
Adhesive Mount:
- Clean the mounting surface with a microfiber cloth and alcohol wipe, as mentioned earlier.
- Peel off the adhesive pad backing and firmly press the mount onto the windshield.
- Wait for the adhesive to cure according to the manufacturer’s instructions.
- Attach the dash cam to the mount.
Suction Cup Mount:
- Clean the mounting surface with a microfiber cloth and alcohol wipe, as mentioned earlier.
- Moisten the suction cup to create a stronger seal.
- Press the suction cup firmly onto the windshield.
- Attach the dash cam to the suction cup mount.
Vent Mount:
- Locate an air vent in your vehicle that is suitable for mounting the dash cam.
- Attach the vent mount onto the air vent using the provided clip or magnet.
- Adjust the mount to ensure the dash cam is secure.
- Attach the dash cam to the vent mount.
Bracket Mount:
- Choose a suitable location to install the bracket mount.
- Use a trim removal tool to remove any panels or covers to access the mounting area.
- Secure the bracket mount onto the desired location using screws or other provided hardware.
- Attach the dash cam to the mount.
Routing the cables
Frequently Asked Questions Of How To Install A Rear Dash Cam
Where Is The Best Place To Install A Rear Dash Cam?
The best place to install a rear dash cam is on the rear windshield. It provides the widest view of the area behind your vehicle and ensures clear footage.
Can I Put A Dash Cam In The Back Of My Car?
Yes, you can install a dash cam in the back of your car. It provides additional coverage for recording incidents and helps with rear-view monitoring. A rear-facing dash cam can be a useful addition to enhance safety and security on the road.
How Does A Rear Dash Cam Get Power?
A rear dash cam gets power through the vehicle’s cigarette lighter or by connecting it to the car’s fuse box.
How Do You Install A Rear View Camera In A Car?
To install a rear view camera, follow these steps: 1. Choose a suitable camera and wiring kit. 2. Locate the reverse light wires in your car’s trunk or license plate area. 3. Connect the camera’s power and video cables to the reverse light wires.
4. Mount the camera in a desired location on your car’s rear. 5. Connect the camera to a display or monitor inside your car, either wirelessly or with cables.
Conclusion
Installing a rear dash cam is a simple and effective way to enhance your driving experience. From improving safety on the road to providing valuable evidence in case of accidents, a rear dash cam offers numerous benefits. By following the step-by-step guide mentioned in this blog post, you can easily install your own rear dash cam without any hassle.
So, go ahead and equip your vehicle with this essential gadget for a safer and more secure journey.
