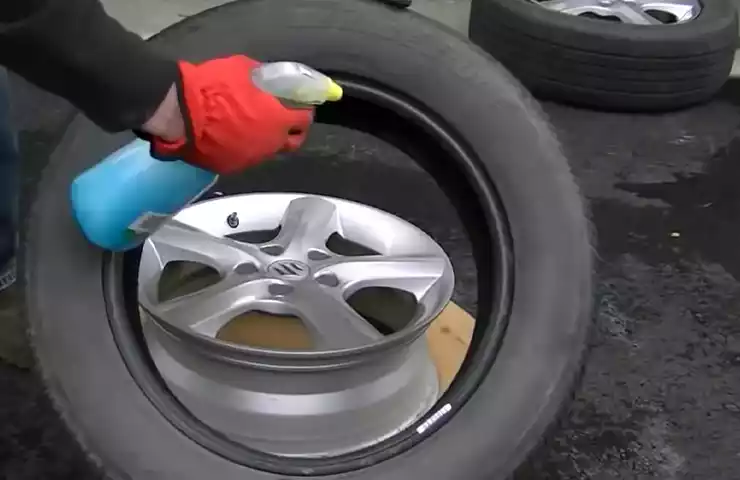
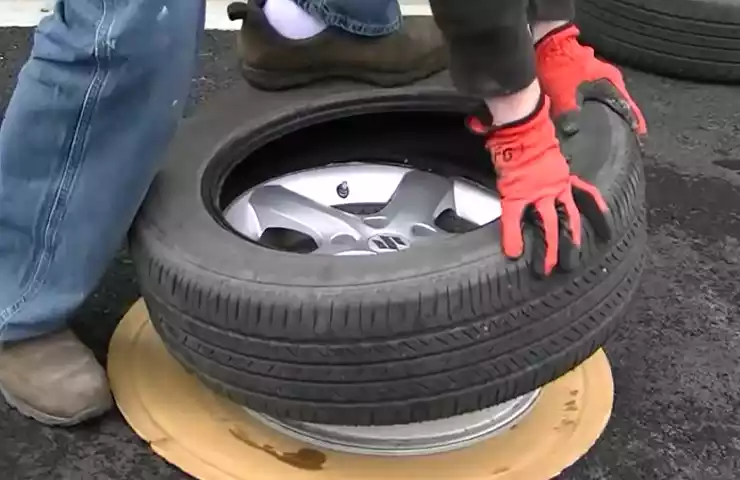
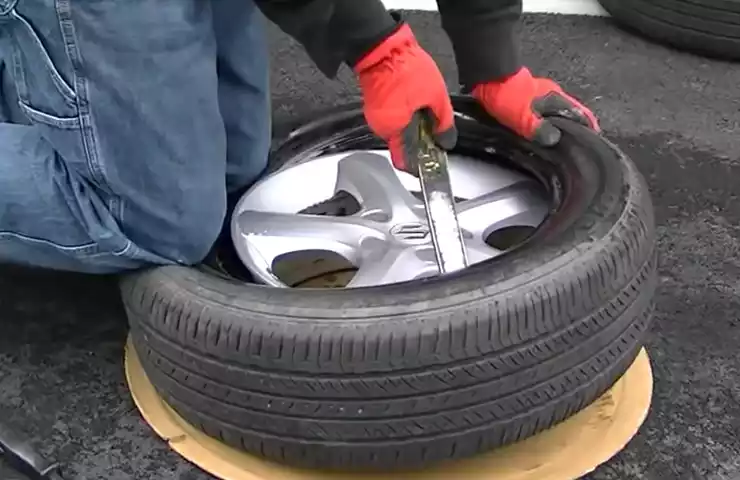
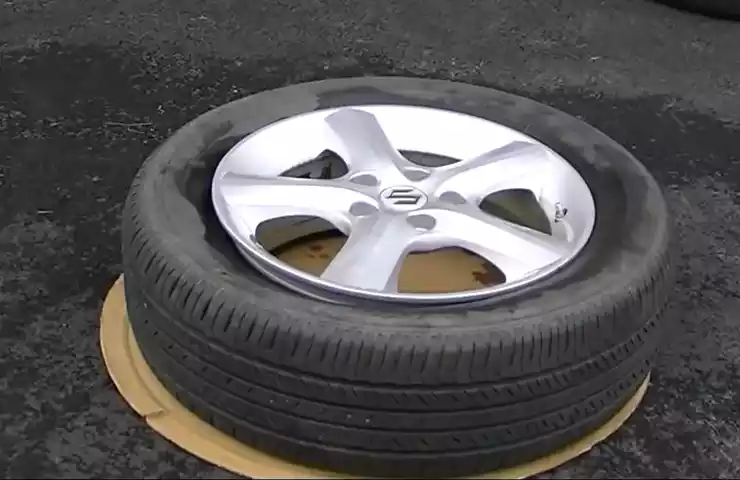
To install a new tire, start by loosening the lug nuts, lifting the vehicle with a jack, and removing the old tire. Then, place the new tire onto the wheel studs and hand tighten the lug nuts before lowering the vehicle and fully tightening the nuts with a wrench.
Reasons To Replace Your Tire
Proper maintenance of your vehicle’s tires is crucial for ensuring your safety on the road. Over time, wear and tear can compromise the performance and structural integrity of your tires. In this article, we will explore some important reasons why you should consider replacing your tires when necessary.
Signs of wear and tear on your tire
Your tires endure a lot of stress and strain as you drive. One of the key indicators that it may be time for a replacement is visible signs of wear and tear. Here are some common signs to look out for:
- Tread depth worn close to or below legal limit
- Bald spots or uneven tread wear
- Cracks, bulges, or cuts on the sidewall
- Excessive vibration or shaking while driving
Tire damage that can’t be repaired
While some tire damage can be repaired, certain types of damage may render the tire unsafe for further use. It is important to be aware of the following situations where tire replacement is necessary:
- Punctures or cuts larger than 1/4 inch in diameter
- Damage to the sidewall, especially if bulging or showing cords
- Impact damage, such as hitting a curb or pothole, causing internal structural damage
- Tire separation or tread separation
- Worn-out or damaged valve stems
The importance of maintaining proper traction
Ensuring your tires have proper traction is crucial for maintaining control of your vehicle, especially in adverse weather conditions. Here’s why you should pay attention to traction:
- Good traction allows for better braking distance and control during sudden stops
- Proper traction reduces the risk of skidding or hydroplaning on wet surfaces
- Worn-out tires with insufficient traction can negatively impact your ability to maneuver and stay in control of your vehicle
Regularly inspecting your tires for signs of wear and damage, and replacing them when necessary, is an important part of maintaining the safety and performance of your vehicle. By being proactive and attentive to your tires’ condition, you can ensure optimal driving experience and minimize the risk of accidents caused by tire failure.
Tools And Materials Required
When it comes to replacing a tire on your vehicle, you will need a few essential tools and materials to get the job done. In this section, we will highlight the key items you will need in order to successfully install a new tire. From a jack and jack stands to a lug wrench and tire pressure gauge, each tool plays a specific role in the tire replacement process.
Jack and jack stands
The jack and jack stands are essential for safely lifting your vehicle off the ground. These tools provide the necessary support to elevate the affected wheel off the surface, allowing you to remove the old tire and install the new one. Ensure that the jack is positioned on a sturdy part of the vehicle’s frame and that the jack stands are firmly secured before proceeding with the tire replacement.
Lug wrench
A lug wrench is a specialized tool designed specifically for loosening and tightening the lug nuts that hold the tire in place. This wrench typically features a cross-shaped end, allowing for easy application of torque when loosening or tightening the nuts. It is important to have a lug wrench that fits correctly to avoid any damage to the nuts or the wrench itself.
New tire
Of course, the most crucial item you will need is the new tire itself. Ensure that you have the correct size and type of tire for your vehicle. It is essential to choose a tire that matches the specifications outlined by the manufacturer to guarantee optimal performance and safety.

Tire pressure gauge
Finally, a tire pressure gauge is necessary to check the air pressure in the new tire after installation. Maintaining the proper air pressure is vital for both performance and safety. The gauge will provide an accurate reading, allowing you to inflate the tire to the recommended pressure level.
Removing The Old Tire
Removing the old tire is the first step in installing a new one. This process involves ensuring the vehicle is on a level surface, loosening the lug nuts, and lifting the vehicle with a jack.
Park your vehicle on a level surface and engage the parking brake
To begin, it is crucial to find a level surface on which to park your vehicle. This will ensure stability during the tire replacement process. Once you have identified a suitable location, engage the parking brake to prevent your vehicle from rolling. This step is essential for your safety and the overall success of the tire installation.
Loosen the lug nuts before lifting the vehicle
Next, locate the lug nuts that secure the old tire to the wheel. It is advisable to use a lug wrench to loosen the lug nuts before lifting the vehicle off the ground. By partially unscrewing the lug nuts, the tire will be easier to remove once the vehicle is lifted. Take care to avoid fully removing the lug nuts at this stage.
Use the jack to lift the vehicle off the ground
Now that the lug nuts are partially loosened, it’s time to utilize a jack to elevate the vehicle. Place the jack in the appropriate jacking point, as specified by your vehicle’s manufacturer. Consult your vehicle manual for the exact location if you are unsure. Slowly pump the jack until the vehicle is lifted off the ground, making sure to raise it to a height that provides enough space for the old tire to be removed.
Completely remove the lug nuts and take off the old tire
With the vehicle elevated, fully unscrew and remove the lug nuts from the wheel using the lug wrench. Keep the lug nuts in a safe place as you will need them to secure the new tire later. Once the lug nuts are removed, carefully take off the old tire. Be mindful of the weight and ensure that you have a firm grip to prevent any accidents. Place the old tire aside, and it is now ready for inspection or disposal.
Now that you have successfully removed the old tire, you can proceed to the next step of installing a new tire. Stay tuned for our upcoming blog post to learn how to properly mount and secure a new tire onto your vehicle.
Preparing The New Tire
Examine the condition of the wheel and rim
Before installing a new tire, it’s important to examine the condition of the wheel and rim. Check for any visible damage or signs of wear and tear. Inspect the rim for any dents, cracks, or corrosion. Make sure the wheel is clean and free from any debris or foreign objects that could interfere with the tire installation process. Cleaning the wheel surface will allow for better contact and adhesion between the wheel and the new tire.
Align the lug holes on the new tire with the wheel studs
Next, align the lug holes on the new tire with the wheel studs on the wheel. This ensures proper fitment and avoids any complications during installation. The lug holes should match the pattern of the wheel studs to ensure a secure and stable connection. Take your time to align the holes correctly to avoid any issues with the mounting process.

Place the new tire onto the wheel studs
Once the lug holes are aligned with the wheel studs, carefully place the new tire onto the wheel studs. Ensure that the tire sits flush against the wheel and that there is no gap between the two. Gently push the tire onto the wheel studs, taking care not to damage the studs or the tire. If necessary, use a rubber mallet to gently tap the tire into place, ensuring a snug fit.
Hand-tighten the lug nuts in a star pattern
Now that the new tire is properly placed onto the wheel studs, it’s time to hand-tighten the lug nuts. Start tightening the lug nuts using a star pattern, meaning you tighten the lug nuts opposite to each other in a diagonal pattern. This helps in distributing the pressure evenly and ensures that the tire is seated properly. Use a lug wrench or a socket wrench to tighten the lug nuts, making sure not to overtighten them. In conclusion, properly preparing the new tire before installation is crucial for a successful and safe tire replacement. By examining the condition of the wheel and rim, aligning the lug holes with the wheel studs, placing the new tire onto the wheel studs, and hand-tightening the lug nuts in a star pattern, you can ensure a seamless tire installation process. Remember to always follow manufacturer guidelines and seek professional assistance if needed.
Securing The New Tire
Once you have successfully mounted the new tire onto the wheel, it’s time to secure it properly to ensure your safety and the tire’s longevity. Follow these steps to securely attach the new tire to your vehicle:
Lower the vehicle back to the ground using the jack
After placing the new tire onto the wheel hub, gently lower your vehicle back to the ground using the jack. Do this in a controlled manner to avoid any sudden movements that could lead to accidents or damage. Slowly turn the jack handle counterclockwise to lower the vehicle until the tire makes contact with the ground.
Fully tighten the lug nuts with a lug wrench
With the vehicle on the ground, locate the lug nuts and use a lug wrench to fully tighten them. Start by tightening the lug nuts in a star or cross pattern to ensure even pressure. This will help prevent any wobbling or imbalance when you drive. Remember to tighten each lug nut in small increments, alternating between nuts until they are all snug.
Double-check all lug nuts for tightness
Once you have tightened all the lug nuts, double-check their tightness by giving each nut an extra turn with the lug wrench in the same star or cross pattern. This step is crucial to ensure that the lug nuts are tightened to the proper torque specification. Checking the tightness will help prevent the tire from coming loose while driving.

Test the tire pressure and adjust if needed
After securing the tire to the vehicle, it’s important to check its pressure to ensure optimal performance. Use a digital tire pressure gauge to measure the pressure of the new tire. If the pressure is below the recommended level, use an air compressor to add air until it reaches the correct PSI (pounds per square inch).
Regularly checking and maintaining the proper tire pressure will not only improve fuel efficiency but also enhance the tire’s lifespan and handling.
Once you have adjusted the tire pressure, carefully inspect the lug nuts one last time to ensure they are still tight. This additional check will give you peace of mind, knowing that you took the necessary precautions to secure the new tire properly.
Proper Maintenance And Safety Tips
Regularly check tire pressure and tread depth
Keeping a close eye on tire pressure and tread depth is essential to ensure the longevity and safety of your tires. Adequate tire pressure helps optimize fuel efficiency, improves handling, and minimizes the risk of blowouts. Similarly, maintaining the right tread depth ensures proper traction and grip on the road, especially in wet conditions.
Checking tire pressure is a straightforward task that should be done at least once a month. To get an accurate reading, use a reliable tire pressure gauge to measure the PSI (Pounds per Square Inch) of each tire. Compare the readings with the recommended pressure specified by the vehicle manufacturer, usually found on a sticker inside the driver’s side door jamb or in the owner’s manual.
When it comes to measuring tread depth, it’s advisable to use a tread depth gauge, although a penny can also help provide a rough estimate. Insert the penny into several tread grooves across the tire with Lincoln’s head facing downward. If the top of his head is visible, it’s an indication that the tire tread is worn and needs to be replaced.
Rotate your tires for even wear
Rotating your tires on a regular basis is vital for even wear and prolonged tire life. As a general rule, tire rotation should be performed every 5,000 to 8,000 miles, or as recommended by the vehicle manufacturer. This practice allows the tires to wear more evenly, maximizing their lifespan and promoting better traction on the road.
To rotate the tires, it’s crucial to follow a specific pattern that varies depending on whether your vehicle has front-wheel drive, rear-wheel drive, or all-wheel drive. Consulting the vehicle owner’s manual or seeking guidance from a professional mechanic can help determine the appropriate rotation pattern for your specific vehicle.

Follow the manufacturer’s recommendations for tire maintenance
Every tire manufacturer provides guidelines for proper tire maintenance, including specific recommendations for tire pressure, rotation intervals, and other essential factors. It’s important to familiarize yourself with these guidelines and follow them diligently to ensure optimal tire performance and safety.
Manufacturer recommendations may vary based on the tire brand, size, and intended use. These guidelines often take into account factors such as load capacity, speed ratings, and specific conditions that the tires are designed to handle. By adhering to the manufacturer’s recommendations, you can maintain the integrity of the tires and minimize the risk of premature wear or failure.
Ensure lug nuts are properly tightened after driving a few miles
After installing a new tire, it’s crucial to verify that the lug nuts are correctly tightened. This step is especially important because loosened lug nuts can lead to wheel detachment, compromising your safety and causing damage to the vehicle.
When tightening the lug nuts, use a torque wrench to ensure the correct amount of torque is applied. The manufacturer’s specifications for torque can typically be found in the owner’s manual. It’s recommended to recheck the torque of the lug nuts after driving a few miles, as the initial tightening may have caused some settling and slight loosening of the nuts.
Frequently Asked Questions Of How To Install A New Tire
Can I Install A New Tire Myself?
Yes, you can install a new tire yourself. Follow these guidelines: 1. Park your vehicle on a level surface and engage the parking brake. 2. Loosen the lug nuts with a wrench and jack up the vehicle securely. 3. Remove the old tire, align the new tire with the wheel studs, and tighten the lug nuts.
4. Lower the vehicle and finish tightening the lug nuts in a star pattern. 5. Check the tire pressure and ensure it matches the manufacturer’s recommendations.
What Is The Process Of Putting New Tires On?
The process of putting new tires on involves removing the old tires, ensuring proper alignment, placing the new tires onto the wheel rims, and securing them with lug nuts. It’s essential to select the right tire size and tread pattern for optimal performance and safety.
Is It Cheaper To Replace A Tire By Yourself?
Yes, replacing a tire yourself can be cheaper as it eliminates labor costs. However, it requires proper knowledge, tools, and skills.
How Do You Seat A Tire Bead At Home?
To seat a tire bead at home, start by lubricating the tire and rim. Then, use a rubber mallet or a method called “the explosive method” to create a burst of air. This will help the bead pop onto the rim.
Conclusion
Installing a new tire is a straightforward process that can be done with a few simple steps. By following the guidelines mentioned in this blog post, you can confidently change a tire on your own. Remember to prioritize safety, gather the necessary tools, and carefully follow each step.
With a bit of practice, you’ll be able to swap out your tires without any hassle. Happy tire-changing!
