To install a dropper post without internal routing, you can use an external cable or hose routing method. This involves attaching the dropper post to the bike frame using external clamps or guides and routing the cable or hose along the frame.
Then, secure the cable or hose to the frame using cable ties or clips. Finally, connect the cable or hose to the dropper post and adjust the tension as needed. Installing a dropper post can greatly enhance your mountain biking experience, allowing you to quickly and easily adjust your saddle height while on the trail.
However, if your bike does not have internal routing for the dropper post, you may be wondering how to install it. Not to worry, in this guide, we will show you how to install a dropper post without internal routing using an external cable or hose routing method. This method is straightforward and can be done with a few basic tools and materials. So, let’s dive in and learn how to install a dropper post without internal routing.
Choosing The Right Dropper Post For Your Bike
Installing a dropper post without internal routing can seem like a daunting task, but with the right knowledge and tools, it is definitely achievable. Before you jump into the installation process, it’s important to choose the right dropper post for your bike. There are several factors to consider, including bike compatibility, frame considerations, travel options, and seatpost diameter. Let’s take a closer look at each of these factors to help you make an informed decision.
Factors to consider when selecting a dropper post
When selecting a dropper post, there are a few key factors that you should keep in mind:
- Bike compatibility and frame considerations
- Travel options
- Seatpost diameter
Bike compatibility and frame considerations
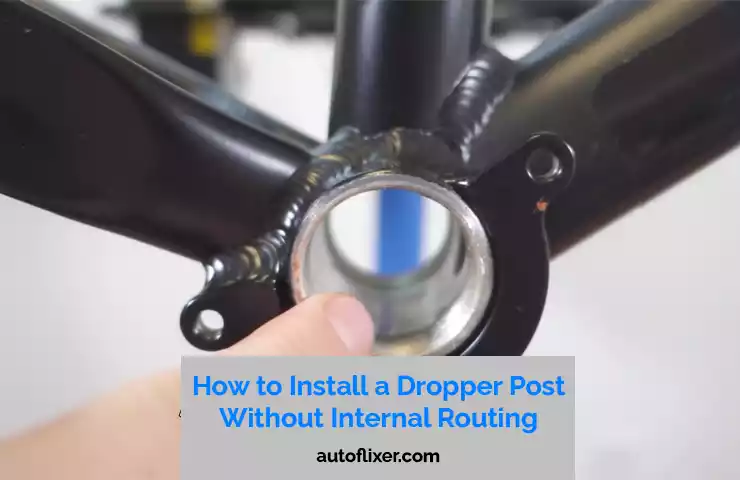
Before purchasing a dropper post, you need to ensure that it is compatible with your bike and frame. Check the specifications of your bike to determine which dropper post sizes are compatible. Additionally, pay attention to any frame considerations, such as cable routing or interference with other components.
Travel options and seatpost diameter
The travel option refers to the amount of vertical travel or drop that the dropper post provides. Consider your riding style and preferences when selecting the travel option. If you ride aggressively and tackle rough terrains, a longer travel dropper post might be more suitable.
Seatpost diameter is another important factor to consider. The seatpost diameter determines the size of the dropper post that will fit your bike. Measure the diameter of your seat tube accurately to ensure that you select the right dropper post that will fit snugly into your frame.
External dropper post routing
When installing a dropper post without internal routing, you will need to consider external dropper post routing options. There are various ways to route the dropper post cable externally, such as zip-tying it to the frame or using specific external routing kits designed for this purpose. Research and choose the option that works best for your bike and riding style.
By considering these factors and making an informed decision, you can choose the right dropper post for your bike. Once you have selected the perfect dropper post, you can confidently move on to the installation process, knowing that you have made a suitable choice for your bike’s needs.
Gathering The Necessary Tools And Supplies
Before we dive into the process of installing a dropper post without internal routing, it’s important to make sure you have all the right tools and supplies at hand. Having the necessary equipment will not only make the installation process smoother but also ensure that your dropper post is installed correctly, guaranteeing a safe and enjoyable riding experience.
Essential Tools for Dropper Post Installation
Here is a list of tools you will need to successfully install a dropper post without internal routing:
| Tool | Usage |
|---|---|
| Allen wrenches and torque wrench | These tools are essential for loosening and tightening various bolts and fasteners when installing your dropper post. |
| Cable cutter and housing cutter | These cutters are necessary for trimming and adjusting the length of the cables and housing to fit your bike frame. |
| Cable lubricant and zip ties | Cable lubricant will help ensure smooth and hassle-free cable movement, while zip ties are used for securing the cables and housing in place. |
Having these tools readily available before you begin the installation process will save you time and frustration. Now that you have gathered the necessary tools and supplies, you are ready to move on to the next step of installing your dropper post without internal routing.
Preparing Your Bike For Installation
Before you can install a dropper post without internal routing on your bike, you need to prepare your bike for the installation process. This involves several steps, including removing the existing seatpost and saddle, loosening the seatpost clamp and extracting the seatpost, detaching the saddle from the seatpost, measuring and cutting the new dropper post, and determining the appropriate length for the dropper post.
Removing the existing seatpost and saddle
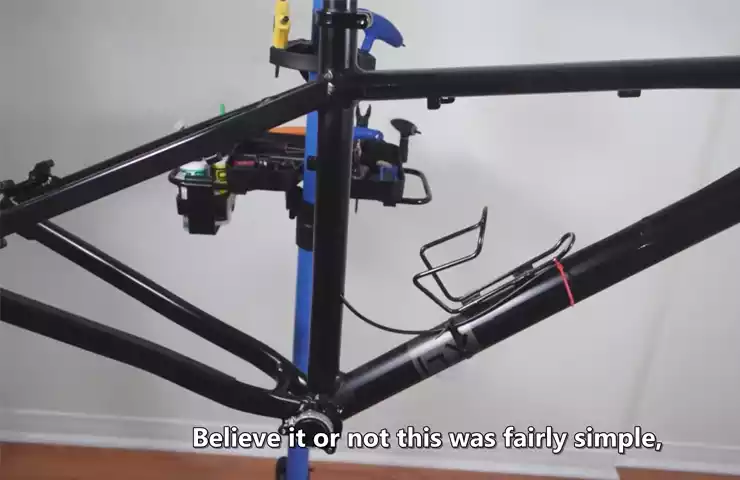
The first step in preparing your bike for installation is to remove the existing seatpost and saddle. Start by loosening the seatpost clamp, which is typically located at the top of the seat tube. Use an appropriate tool, such as an allen wrench, to loosen the clamp and release the seatpost. Once the clamp is loose, you can easily slide the seatpost out of the seat tube.
Loosening the seatpost clamp and extracting the seatpost
Next, you’ll need to loosen the seatpost clamp and extract the seatpost. This step may vary depending on the type of clamp mechanism on your bike. If you have a quick-release clamp, simply open the lever and remove the seatpost. If you have a bolt-on clamp, use an appropriate tool to loosen the bolt and release the seatpost. Once the clamp is loose, you can slide the seatpost out of the seat tube.
Detaching the saddle from the seatpost
Once the seatpost is removed, you can detach the saddle from the seatpost. Most saddles are attached to the seatpost with a clamp mechanism. Locate the bolt or quick-release lever that secures the saddle to the seatpost and loosen it. Once the clamp is loose, you can slide the saddle off the seatpost.
Measuring and cutting the new dropper post
Now that you have removed the existing seatpost and saddle, it’s time to measure and cut the new dropper post. This step is crucial to ensure the dropper post is the correct length for your bike and riding style. Start by placing the new dropper post next to your bike frame. Determine how much of the dropper post needs to be inserted into the seat tube and mark the post accordingly.
Determining the appropriate length for the dropper post
After marking the dropper post, you need to determine the appropriate length for the post based on your riding position and personal preference. Begin by setting your bike on a level surface and sitting on the saddle. Find a comfortable riding position with your pedals at the 3 and 9 o’clock positions. Measure the distance from the top of the seat tube to the center of your saddle rail and note this measurement.
Marking and cutting the dropper post to size
With the measurement in hand, you can now mark and cut the dropper post to size. Use a tool suitable for cutting the particular material of your dropper post, ensuring a clean and precise cut. Double-check your measurement and mark the post accordingly. Once marked, carefully cut the dropper post to the desired length.
By following these steps to prepare your bike for installation, you’ll be well on your way to successfully installing a dropper post without internal routing. Remember to take your time and double-check your measurements and cuts to ensure a proper fit and optimal performance.
Installing The External Dropper Post
Mounting the dropper post to the bike frame
Mounting the dropper post to your bike frame is the first step in installing an external dropper post. To do this, you will need to locate the seat tube on your bike frame. The seat tube is the vertical tube that the seatpost fits into. Once you have located the seat tube, remove any existing seatpost or seatpost clamp that may be attached.
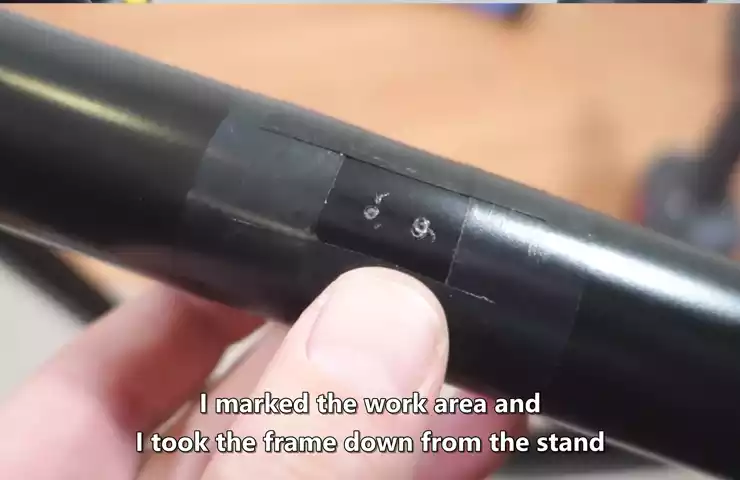
Next, take your dropper post and slide the lower portion into the seat tube, ensuring that it is aligned properly. The lower portion of the dropper post should have a lip or indicator to help guide you in aligning it correctly.
Aligning and inserting the dropper post into the seat tube
Aligning the dropper post correctly is essential for smooth operation. To do this, make sure that the dropper post is straight and not crooked inside the seat tube. You can check this by eye or use a tool like a spirit level to ensure it is perfectly aligned.
Once you have confirmed that the dropper post is aligned, gently insert it further into the seat tube until it reaches the desired height. It is important to leave enough space at the top of the seat tube for the seatpost clamp to be installed.
Tightening the seatpost clamp to secure the dropper post
The seatpost clamp is designed to secure the dropper post in place and prevent it from sliding down or rotating while riding. To tighten the seatpost clamp, loosen the bolt or quick-release lever on the clamp, slide it onto the top of the seat tube, and tighten the bolt or close the lever until it is snug. Be careful not to overtighten, as this could damage the dropper post or seat tube.
Connecting and routing the dropper post cable
Connecting and routing the dropper post cable is an essential part of the installation process. Start by attaching the cable to the dropper post lever. Some dropper posts come with a cable already attached, while others may require you to install the cable yourself.
To connect the cable, locate the barrel adjuster on the dropper post lever and thread the cable through it. Use a cable crimp or end cap to secure the cable in place. Make sure the cable is properly tensioned and that there is no slack.
Attaching the cable to the dropper post lever
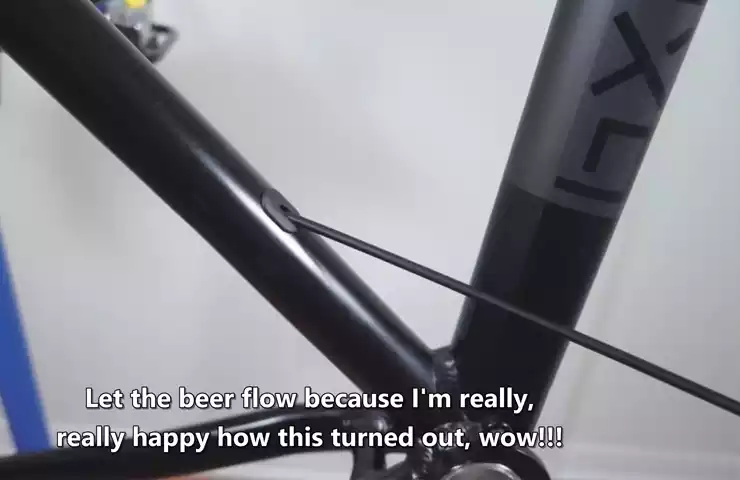
Once the cable is connected to the dropper post lever, you will need to route it along the frame. Start by attaching the cable to the frame using zip ties. Make sure the cable is secure and does not interfere with any moving parts or suspension.
Routing the cable along the frame and securing it with zip ties
To route the cable along the frame, follow the natural lines and curves of the bike. Make sure the cable is not pulled too tight or too loose, as this can affect the smooth operation of the dropper post. Use zip ties to secure the cable to the frame at regular intervals, ensuring that it is secure and does not move or rattle while riding.
Fine-tuning and adjusting the dropper post
Once the dropper post is installed and the cable is routed, it’s time to fine-tune and adjust the dropper post for optimal performance. Start by ensuring that the dropper post moves smoothly up and down by activating the lever. If there is any resistance or the dropper post is not moving as expected, check for any cable tension issues or misalignment.
Use the barrel adjuster on the dropper post lever to fine-tune the cable tension. Start with small adjustments and test the dropper post after each adjustment until it moves smoothly and without any issues.
Testing the dropper post for smooth operation
Before hitting the trails, it is important to test the dropper post for smooth operation and reliability. Activate the lever to ensure that the dropper post raises and lowers steadily without any hesitation or jerking. If there are any issues, go back and check the cable tension, alignment, and any potential obstructions or friction points.
Adjusting the height and sag of the dropper post
Once the dropper post is installed and tested, you may want to fine-tune the height and sag to suit your riding preferences. Adjust the height by raising or lowering the dropper post within the seat tube, and adjust the sag by altering the air pressure or compression settings if applicable. Keep in mind that these adjustments may require some trial and error to find the perfect setup for you.
Troubleshooting Common Installation Issues
Installing a dropper post without internal routing can sometimes present certain challenges. However, by familiarizing yourself with these common installation issues and knowing how to troubleshoot them, you can ensure a smooth and successful installation process. In this section, we will discuss troubleshooting tips for cable tension and slack adjustment, seatpost alignment and saddle positioning, as well as maintaining and troubleshooting the dropper post.
Cable Tension and Slack Adjustment
Adjusting the cable tension correctly is crucial for optimal dropper post performance. Here’s how you can achieve this:
- Ensure that the cable is securely attached to the dropper post lever and the actuator at the seatpost.
- With the dropper post fully extended, pull the cable taut and tighten the bolt on the actuator to secure the cable in place.
- Test the dropper post by actuating it multiple times to check for smooth and reliable operation.
If you encounter excessive cable slack or tightness, here’s what you can do to address these issues:
Dealing with Excessive Cable Slack
If the cable has too much slack, follow these steps:
- Disconnect the cable from the actuator and remove any excess slack by pulling it taut.
- Reattach the cable to the actuator, making sure it is securely fastened.
- Test the dropper post to ensure smooth functionality.
Dealing with Excessive Cable Tightness
If the cable is too tight, follow these steps:
- Loosen the bolt on the actuator to release tension on the cable.
- Adjust the cable length accordingly, allowing for a slight amount of slack.
- Retighten the bolt on the actuator to secure the cable in place.
- Test the dropper post for proper operation.
Seatpost Alignment and Saddle Positioning
Proper seatpost alignment and saddle positioning are crucial for comfort and efficient riding. Here’s what you need to know:
Ensuring the Dropper Post is Aligned Straight
A misaligned dropper post can cause discomfort and affect your riding experience. To ensure proper alignment, follow these steps:
- Loosen the seat collar bolt and adjust the dropper post until it is vertically aligned with the bike frame.
- Retighten the seat collar bolt to secure the dropper post in place.
- Double-check the alignment by sitting on the saddle and making minor adjustments if necessary.
Adjusting the Saddle Position for Comfort
The position of your saddle plays a crucial role in comfort and pedaling efficiency. Here are some pointers:
- Position the saddle horizontally to align with your sitting bones. Finding the right position may require experimentation and fine-tuning.
- You can also adjust the saddle angle to provide optimal support and reduce pressure on sensitive areas.
- Always ensure that the saddle is securely tightened to prevent any unwanted movement.
Maintaining and Troubleshooting the Dropper Post
Regular maintenance of your dropper post can help prolong its lifespan and ensure reliable performance. Here are some maintenance and troubleshooting tips:
Cleaning and Lubricating the Dropper Post
To keep your dropper post running smoothly, follow these steps:
- Wipe down the dropper post stanchion with a clean, lint-free cloth to remove dirt and debris.
- Apply a small amount of suspension-specific lubricant to the stanchion for smooth operation.
- Actuate the dropper post multiple times to distribute the lubricant evenly.
Diagnosing and Fixing Common Issues
If you encounter any issues with your dropper post, here are some troubleshooting suggestions:
- Check for loose bolts or connections and tighten them if necessary.
- Inspect the cable routing to ensure it is free from any obstructions or kinks.
- If the dropper post becomes stuck or intermittently fails to operate, it may require professional servicing or internal maintenance.
By following these troubleshooting tips, you can overcome common installation issues associated with a dropper post without internal routing. Remember, regular maintenance and careful adjustments will greatly enhance your overall riding experience.
Frequently Asked Questions
How Do I Install An Externally Routed Dropper Post?
To install an externally routed dropper post, follow these steps: 1. Remove your old seat post. 2. Thread the dropper post cable through the frame guides. 3. Insert the post into the seat tube and secure it. 4. Attach the cable to the post and adjust tension.
5. Test the post for smooth operation before riding.
Can You Put A Dropper Post On Any Mtb?
Yes, you can attach a dropper post to any mountain bike. It is a versatile component that can be installed on various MTB models. Simply make sure the dropper post is compatible with your bike’s seat tube size and cable routing.
Enjoy the benefits of adjustable saddle height on any MTB.
Can I Put A Dropper Post On Any Bike?
Yes, you can install a dropper post on any bike as long as it is compatible with the seat tube diameter and the frame allows for internal cable routing. It is recommended to consult with a bicycle professional to ensure proper fit and installation.
What Is The Minimum Insertion For A Dropper Post?
The minimum insertion for a dropper post is the amount of the post that must be inserted into the seat tube. It ensures proper stability and function. The specific minimum insertion varies depending on the manufacturer and model of the dropper post.
Be sure to refer to the manufacturer’s guidelines for the correct measurement.
Conclusion
Installing a dropper post without internal routing is not as complicated as it may seem. By following these steps, you can easily upgrade your mountain bike to enhance your riding experience. From measuring the seat tube diameter to choosing the right dropper post and using external cable routing, you can enjoy the benefits of a dropper post without the need for internal routing.
With these techniques, you can confidently tackle rough terrain and explore new trails with ease. Happy riding!
