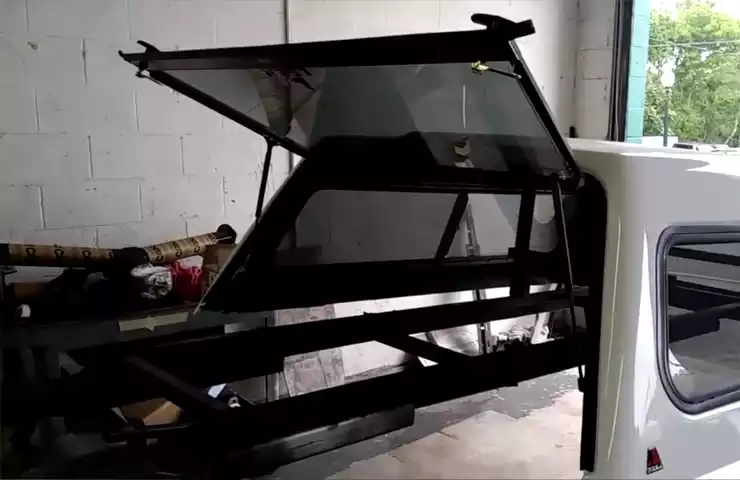
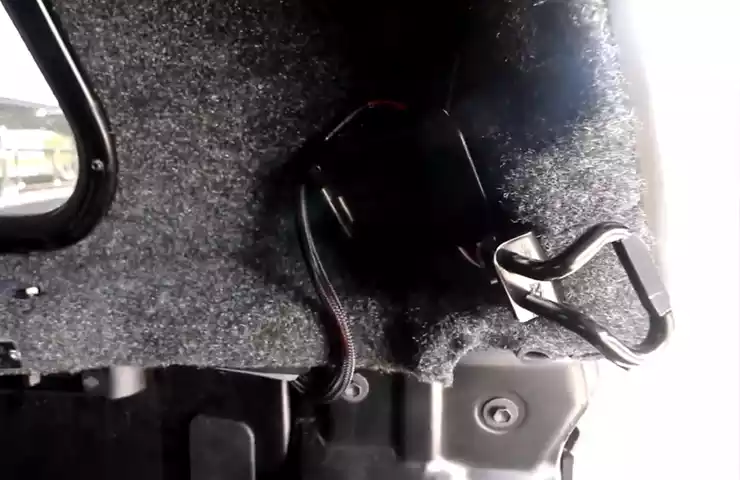
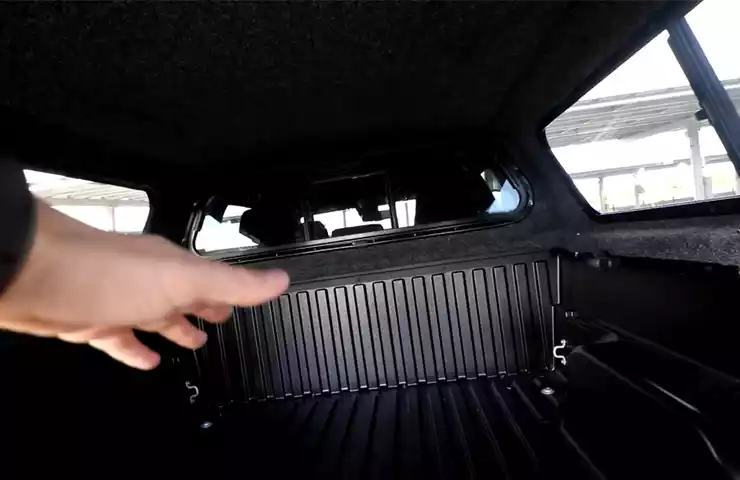
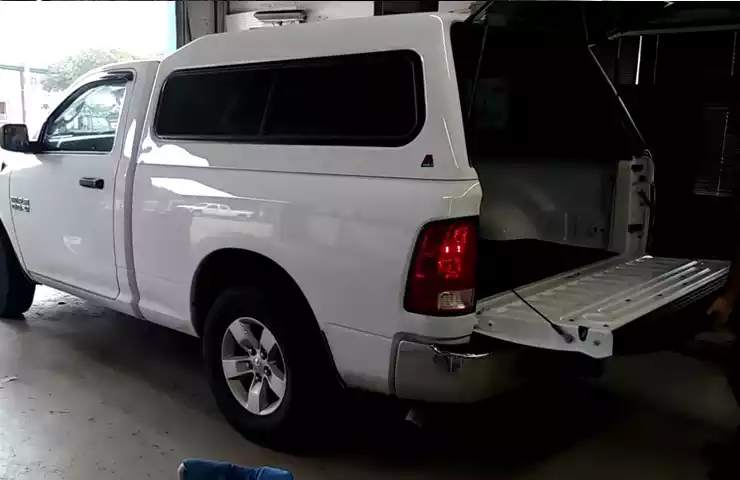
To install a camper shell, position it on the bed of the truck and secure it with clamps and bolts. Here is a step-by-step guide to help you install a camper shell on your truck.
When it comes to adding extra space and functionality to your vehicle, a camper shell can be a great addition. Whether you’re looking to transport supplies for a camping trip or need a secure storage area for your tools, a camper shell can offer the versatility you need.
Installing a camper shell is a relatively simple process that can be completed with just a few tools and some basic DIY know-how. In this guide, we will take you through the step-by-step process of installing a camper shell on your truck. By following these instructions, you’ll have your camper shell securely in place in no time.
Choosing The Right Camper Shell For Your Truck
Installing a camper shell on your truck can transform it into the ultimate camping and traveling companion. Not only does it provide extra storage space, but it also offers protection from the elements. However, with numerous options available in the market, choosing the right camper shell for your truck can be a daunting task. To help you make an informed decision, consider the following factors when selecting a camper shell:
Factors to consider when selecting a camper shell
Choosing the perfect camper shell involves taking into account several important factors. Here are some key considerations to keep in mind:
Truck bed dimensions and compatibility
One of the first things you’ll need to consider is the compatibility of the camper shell with your truck’s bed dimensions. Every truck comes with its own unique bed size, so it’s crucial to measure the length, width, and height of your truck bed before making a purchase. Ensure that the camper shell you choose fits securely and snugly on your truck to avoid any compatibility issues or gaps that may compromise its functionality.
Material options for camper shells
Camper shells are available in a variety of materials, each offering its own set of advantages and disadvantages. Common materials used for camper shells include fiberglass, aluminum, and composite. Fiberglass camper shells are lightweight and provide excellent insulation, while aluminum shells are more durable and better for heavy-duty use. Composite shells offer a blend of both durability and lightweight construction. Consider your specific needs and preferences when choosing the material that best suits your truck and camping requirements.
Features and customization options to look for
When selecting a camper shell, be sure to explore the various features and customization options available. Some essential features to consider include windows for enhanced visibility, dual doors for easy access, and roof racks for additional storage capacity. Additionally, look for customization options such as interior lighting, ventilation systems, and integrated electrical outlets. These features can greatly enhance the comfort and convenience of your camping experience.
Remember, choosing the right camper shell for your truck is crucial to ensure a seamless and enjoyable camping adventure. By considering the truck bed dimensions and compatibility, material options, and features and customization options, you can make an informed decision that meets your specific needs and enhances your overall camping experience.
Preparing Your Truck For Camper Shell Installation
Before you embark on installing a camper shell on your truck, it’s essential to prepare the truck bed and ensure a smooth and successful installation. Preparing your truck properly will not only help the camper shell fit perfectly but also prevent any damage to your vehicle. In this guide, we’ll walk you through the key steps of preparing your truck for camper shell installation.
Cleaning and Prepping the Truck Bed
Before you start installing your camper shell, it’s crucial to clean and prep your truck bed. This will help ensure a clean surface for the shell to sit on, enhancing its stability and longevity. Here’s what you need to do:
- Remove any loose debris, dirt, or grime from the truck bed using a broom or a high-pressure water source.
- Scrub the bed with a mild detergent or truck bed cleaner to remove any stubborn dirt or grease.
- Rinse off the cleaning agent thoroughly and allow the truck bed to dry completely.
By starting with a clean and dry truck bed, you’ll create an ideal foundation for your camper shell installation.
Removing any Existing Accessories or Toolboxes
If your truck bed has any existing accessories or toolboxes, it’s necessary to remove them before installing the camper shell. This step ensures proper alignment and fit. Follow these steps to remove any existing accessories:

- Inspect the truck bed for any accessories that may hinder the installation, such as bed liners, bed covers, or toolboxes.
- Remove these accessories as per their respective manufacturer instructions.
- If needed, use the appropriate tools to disconnect any electrical connections, mounting brackets, or fasteners.
Removing existing accessories will create a clean canvas for the camper shell installation.
Cleaning and Drying the Truck Bed Surface
After removing any existing accessories, it’s essential to clean and dry the truck bed surface. This step ensures that there is no debris or moisture that could impact the installation process. Follow these steps:
- Wipe down the truck bed surface using a clean cloth to remove any remaining dirt or residue.
- Rinse the surface with a hose or bucket of water to remove any loose debris.
- Allow the truck bed surface to dry completely before proceeding with the installation.
A clean and dry truck bed surface will provide an optimal foundation for your camper shell.
Checking for any Modifications or Adjustments Needed
Before installing the camper shell, it’s crucial to check if any modifications or adjustments are necessary for your specific truck model. These modifications can include:
- Checking if the truck bed rails need additional drilling or modifications to fit the camper shell properly.
- Assessing if any sections of the truck bed frame need reinforcement for added stability.
It’s important to consult your truck’s manual or reach out to a professional to determine if any modifications are required for your camper shell installation.
Assessing the Truck Bed Frame and Rails
Prior to the installation, it’s imperative to assess the condition of the truck bed frame and rails. Any signs of damage or rust should be addressed before proceeding. Here’s what you need to do:
- Inspect the truck bed frame and rails for any noticeable dents, rust, or weakened areas.
- If you identify any issues, repair or replace the damaged sections or seek the assistance of a professional.

An undamaged and sturdy truck bed frame and rails ensure a secure and stable camper shell installation.
By taking the time to prepare your truck meticulously, you’ll pave the way for a successful and hassle-free camper shell installation. Following these steps will not only ensure the perfect fit but also enhance the overall longevity and functionality of your truck and camper shell combination.
Measure Twice, Install Once: Taking Accurate Measurements
Installing a camper shell on your truck can greatly enhance its versatility and storage capacity. However, before diving into the installation process, it is crucial to ensure accurate measurements. Taking the time to measure properly will save you from costly mistakes and ensure a smooth installation. In this guide, we will discuss the essential measurements for camper shell installation, including the length, width, and height of the truck bed, as well as how to take into account the cab styles and bed rail style.
Essential Measurements for Camper Shell Installation
Before you start measuring, it’s important to gather the necessary tools. A measuring tape or a laser level tool will be useful in obtaining accurate measurements. Additionally, having a pen and paper handy to jot down the measurements will help prevent any confusion later on.
Length, Width, and Height of the Truck Bed
The first step in measuring for a camper shell installation is determining the length, width, and height of your truck bed. To measure the length, use your measuring tape from the inside of the front bed rail to the inside of the tailgate. Write down this measurement.
For the width, measure the distance between the left and right bed rails at both the front and rear of the truck bed, as they may not be perfectly parallel. Take the measurements at multiple points to ensure accuracy. Note down the smallest width measurement.
To measure the height of the truck bed, start from the top of the bed rail and measure down to the inside bottom of the truck bed. If your truck has a tonneau cover or any other accessories that may interfere with the camper shell installation, take these into account when measuring the height.

Taking Into Account the Cab Styles and Bed Rail Style
Another important consideration when measuring for a camper shell installation is the cab style of your truck. There are different cab styles such as regular, extended, and crew cabs, and each style may have specific measurements that need to be taken into account.
It is also crucial to consider the bed rail style of your truck. Some trucks have bed rails that sit on top of the bed, while others have bed rails that are inside the bed. This will affect how the camper shell fits on your truck and should be accounted for in your measurements.
Tips for Accurate Measurements
To ensure accurate measurements, follow these tips:
- Use a measuring tape or laser level tool for precise measurements.
- Double-check your measurements to avoid errors. It’s always better to be safe than sorry.
- Take into account any accessories or modifications that may affect the fit of the camper shell.
- If possible, get a second opinion or consult the manufacturer’s guidelines for specific measurements related to your truck model.
By taking accurate measurements, you will be well-prepared for a successful camper shell installation. Remember, measure twice, install once!
Installing Your Camper Shell: Step-By-Step Guide
Installing a camper shell onto your truck can greatly expand the storage capacity and versatility of your vehicle. Whether you’re heading out for a camping trip or simply need extra space for hauling, a properly installed camper shell is essential. In this step-by-step guide, we’ll walk you through the process of installing your camper shell, ensuring a secure and weatherproof fit.
Preparing the Camper Shell for Installation
Before you can begin the installation process, it’s important to properly prepare the camper shell. This involves inspecting the shell for any damages or defects and ensuring it is clean and ready for installation.
Inspecting the Shell for Any Damages or Defects
Thoroughly examine the camper shell for any damages or defects that may affect its performance or durability. Look for cracks, dents, or signs of wear and tear. It’s crucial to address any issues before proceeding with the installation to avoid complications later on.
Cleaning and Applying Sealant, if Necessary
Next, clean the surface of the truck bed and the underside of the camper shell to ensure proper adhesion. Remove any dirt, dust, or residue that may hinder the installation process. If necessary, apply a suitable sealant to provide additional protection against water leakage and to create a strong seal between the shell and the truck bed.
Alignment and Securing the Shell to the Truck Bed
Once the camper shell is properly prepared, it’s time to align and secure it to the truck bed. Follow these steps to ensure a secure fit:
Lining up the Shell with the Truck Bed
Carefully position the camper shell onto the truck bed, making sure it is centered and aligned. Take measurements and make adjustments as needed to ensure a precise fit.
Properly Attaching the Clamps or Brackets
Using the appropriate clamps or brackets provided with the camper shell, secure it to the truck bed. Place the clamps or brackets along the edges of the truck bed, ensuring they are evenly distributed and firmly tightened. This will provide the necessary support and prevent the shell from shifting during travel.
Sealing and Weatherproofing
Sealing and weatherproofing the camper shell is vital to protect your belongings from the elements. Follow these steps to ensure a watertight seal:
Applying Weatherstripping and Sealant around the Shell
Apply weatherstripping along the edges of the camper shell to create a tight seal. Additionally, apply a suitable sealant along the seams and joints to further prevent water from seeping into the truck bed. Pay special attention to areas prone to leaks, such as around windows and vents.

Checking for Any Gaps or Leaks
After applying the sealant and weatherstripping, carefully inspect the entire camper shell for any gaps or leaks. Look for signs of water penetration, such as moisture or discoloration. Make any necessary adjustments or reapply sealant to ensure a proper seal.
Testing the Installation and Making Final Adjustments
Once the camper shell is securely attached and properly sealed, it’s time to test the installation and make any final adjustments:
Ensuring a Snug Fit
Check for any movement or play in the camper shell. It should be securely fastened and not shift or wobble during travel. Tighten the clamps or brackets if necessary.
Verifying Weatherproofing
Before hitting the road, thoroughly hose down the camper shell to simulate heavy rain. Inspect the interior of the shell for any signs of water leakage. Adjust the sealant or weatherstripping as needed to address any potential leaks.
By following this step-by-step guide, you can successfully install a camper shell onto your truck bed. Ensure each step is carefully executed to enjoy the added functionality and protection that a camper shell provides.
Frequently Asked Questions On How To Install A Camper Shell
How Do You Secure A Bed Cap?
To secure a bed cap, follow these steps: 1. Clean and prepare the truck bed surface properly. 2. Align the bed cap with the truck bed rails. 3. Use clamps or bolts to secure the bed cap to the truck bed.
4. Apply sealant or adhesive to ensure a watertight seal. 5. Tighten all fasteners and double-check for a secure fit.
What Is The Difference Between A Camper Shell And Topper?
A camper shell is a hard, protective covering that fits over the bed of a pickup truck, while a topper is a soft, flexible cover made of fabric. Camper shells offer more security and protection from weather than toppers.
How Do You Secure A Canopy To A Truck?
To secure a canopy to a truck, follow these steps: 1. Place the canopy on the truck bed. 2. Attach the canopy’s clamps or brackets to the truck bed. 3. Use bungee cords or straps to secure the canopy’s corners to the truck’s anchor points.
4. Check that the canopy is firmly attached and tighten any loose connections. 5. Test the canopy’s stability before driving.
What Is The Difference Between A Camper Shell And A Truck Cap?
A camper shell and a truck cap are essentially the same thing. They are a rigid covering that is installed on the bed of a pickup truck. It provides protection and security to the cargo area, turning it into a sealed space.
Conclusion
To sum up, installing a camper shell on your truck can provide numerous benefits, from additional storage space to enhanced protection for your belongings. By following the step-by-step instructions outlined in this guide, you’ll be able to successfully install a camper shell and transform your truck into a versatile camping companion.
Remember, it’s crucial to take your time, exercise caution, and seek professional assistance if needed. Embrace the adventure and enjoy the freedom that a camper shell can bring to your outdoor experiences. Happy camping!
