To install an air horn on a truck, you will need to locate a suitable mounting spot on the vehicle’s frame, secure the air compressor and tank, wire the air horn system to a power source, and connect the necessary air lines.
Gathering The Necessary Tools And Equipment
List of tools needed for air horn installation
Gathering the necessary tools and equipment is an important step when installing an air horn on your truck. Having the right tools not only makes the installation process smoother but also ensures that you have everything you need to complete the job successfully. Here is a comprehensive list of tools you will need:
- Socket set: A set of sockets in various sizes will be essential for removing and installing bolts and nuts during the installation process.
- Wrench set: A wrench set, both metric and standard, will be necessary for various fastening tasks.
- Wire cutters/strippers: To properly cut and strip wires during the installation.
- Wire connectors: These will help you to securely connect the wires together.
- Electrical tape: To insulate electrical connections and protect them from damage.
- Drill and drill bits: Necessary for making holes and mounting brackets.
- Screwdriver set: A set of screwdrivers will be required for loosening and tightening screws.
- Wire loom: To protect the wiring from potential damage.
- Teflon tape: Used for sealing threads to prevent air leaks.
- Electrical tester: Essential for testing the electrical connections and ensuring they are working properly.
- Mounting brackets: These will hold the air horn securely in place on your truck.
It’s important to have all these tools readily available before you begin the installation of your air horn. This will save you time and frustration during the process. Now that you have gathered your tools, let’s move on to the next important step:
Researching and purchasing the right air horn kit for your truck
In order to successfully install an air horn on your truck, it’s crucial to research and purchase the right air horn kit. There are several factors to consider when choosing the right kit for your truck:
- Compatibility: Ensure that the air horn kit you choose is compatible with your truck’s make and model.
- Sound output: Consider the desired sound output level of the air horn and choose a kit that meets your preferences.
- Installation requirements: Some air horn kits may require additional components or modifications for installation. Make sure you are aware of any additional requirements before purchasing.
- Quality and durability: Look for a kit that is made from high-quality materials and built to withstand the rigors of the road.
By carefully researching and purchasing the right air horn kit for your truck, you can ensure a successful installation and enjoy the benefits of a loud and attention-grabbing horn.
Preparing The Truck For Installation
If you’re looking to add some extra power and style to your truck, installing an air horn is a great option. Air horns provide a loud and attention-grabbing sound that can help you navigate through heavy traffic or signal your presence in a crowded parking lot.
Locating the ideal mounting location for the air horn
Before you start the installation process, you’ll need to identify the ideal location to mount your air horn. This will depend on the make and model of your truck, as well as your personal preference. Here are a few factors to consider when choosing the mounting location:
- The horn should be easily accessible for maintenance and repair.
- It should be securely attached to prevent any vibrations or movement.
- Consider the space available and ensure it won’t interfere with other truck components.
- Ensure the horn is angled in a way that maximizes sound projection.
Preparing the mounting surface for the air horn
Once you’ve found the ideal mounting location, you’ll need to prepare the surface to ensure a secure installation. Follow these steps to properly prepare the mounting area:
- Start by cleaning the area thoroughly, removing any dirt, grease, or debris that may prevent the horn from adhering correctly.
- Measure the dimensions of the mounting bracket and mark the exact position where it will be placed.
- Using a power drill and the appropriate size drill bit, create holes in the marked positions. These holes will be used to securely attach the mounting bracket to the truck.
- If necessary, apply a layer of primer to the mounting surface to ensure better adhesion and protection against rust or corrosion.
- Attach the mounting bracket to the drilled holes using the provided bolts and nuts. Tighten them securely to ensure a stable installation.
By properly preparing the truck and selecting the appropriate mounting location, you can ensure a successful installation of your air horn. In the next section, we will cover the steps to connect the horn to your truck’s electrical system.
Installing The Air Horn System
Now that you have gathered all the necessary components for your air horn system, it is time to install it on your truck. This step-by-step guide will walk you through the process of connecting the air horn compressor to the truck’s electrical system and installing the air horn itself.
Connecting the Air Horn Compressor to the Truck’s Electrical System
Step 1: Start by locating a suitable spot in the engine bay where you can mount the air horn compressor. Ensure that it is secure and out of the way of any moving parts or hot surfaces.
Step 2: Once you have chosen the mounting location for the compressor, attach it firmly using the provided brackets or bolts. Make sure it is positioned in a way that allows easy access for maintenance or repairs in the future.
Step 3: Next, you will need to connect the power wire from the compressor to the truck’s battery. Start by finding a suitable opening in the firewall to route the wire through. This will help protect the wire from potential damage and create a clean installation.
Step 4: Once the wire is routed through the firewall, connect one end to the positive terminal of the battery. Ensure that you use an appropriate connector or terminal to create a secure and reliable connection.
Step 5: Now, find a suitable grounding point near the compressor and connect the other end of the power wire. Make sure the grounding point is free from rust, paint, or any other insulating material to ensure a solid electrical connection.
Step 6: Once the power wire is connected, it is essential to add an inline fuse near the battery. This fuse will protect the electrical system from any potential short circuits or electrical failures.
Installing the Air Horn and Securing It in Place
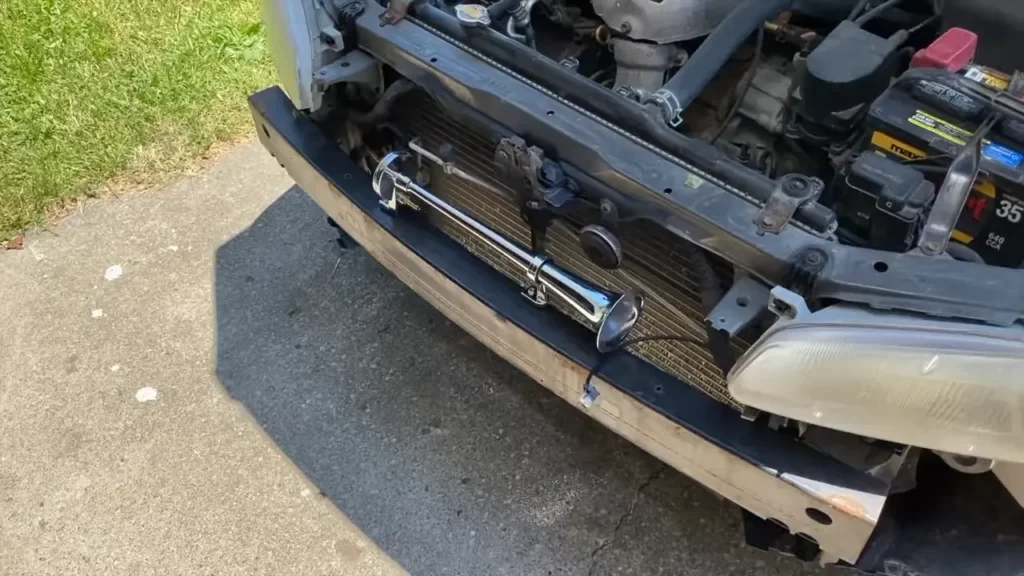
Step 1: Start by choosing a location on your truck where you want to mount the air horn. This is typically on the front bumper, behind the grille, or on the roof. Ensure that the chosen spot is sturdy enough to support the weight of the air horn and will not interfere with any other components or operations.
Step 2: Once you have determined the mounting location, use the appropriate hardware, such as brackets or U-bolts, to secure the air horn in place. Make sure it is tightly fastened to withstand vibrations and rough driving conditions.
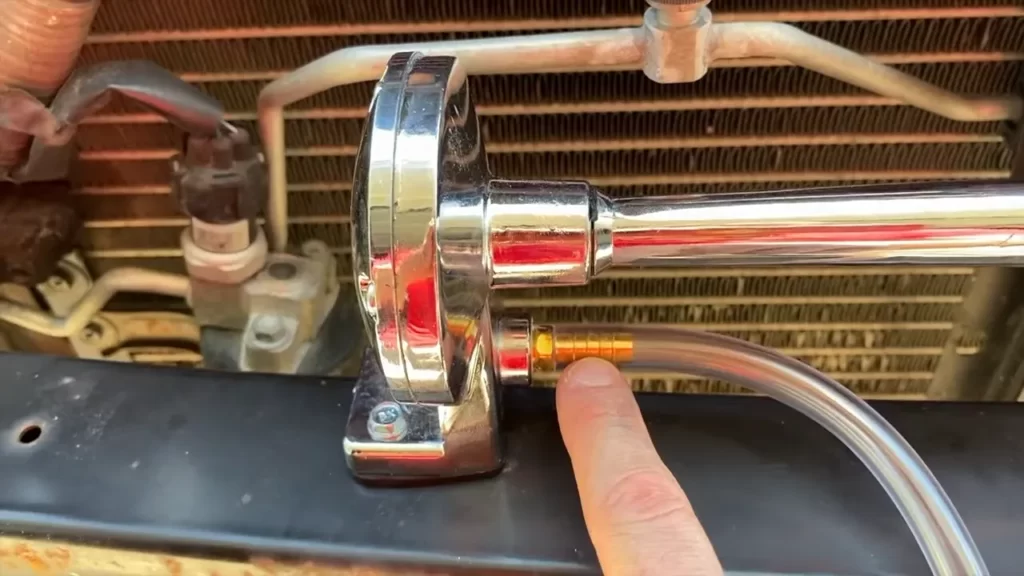
Step 3: Now, connect the air hose from the compressor to the inlet valve of the air horn. Ensure that the connection is tight and secure, using appropriate fittings or clamps if necessary.
Step 4: Finally, test the air horn system to ensure it is functioning correctly. Activate the horn using the control switch, and listen for the powerful sound it produces. If the sound is weak or there are any issues, double-check all the connections and troubleshoot accordingly.
With the air horn system successfully installed, you can now enjoy the enhanced safety and attention-grabbing capabilities it provides. Whether you want to alert nearby motorists or simply make your presence known, your truck’s new air horn will undoubtedly make a statement on the road.
Wiring And Connecting The Air Horn
Installing an air horn on your truck is not only a great way to make your presence known on the road, but it can also add a touch of style to your vehicle. In this section, we will guide you through the process of wiring and connecting the air horn to your truck’s battery, ensuring a seamless installation.
Running the necessary wires from the air horn to the truck’s battery
To start, you’ll need to run the necessary wires from the air horn to your truck’s battery. This step may require some basic knowledge of automotive wiring, but with a little patience and attention to detail, you’ll have your air horn up and running in no time. Here’s a step-by-step guide to help you:
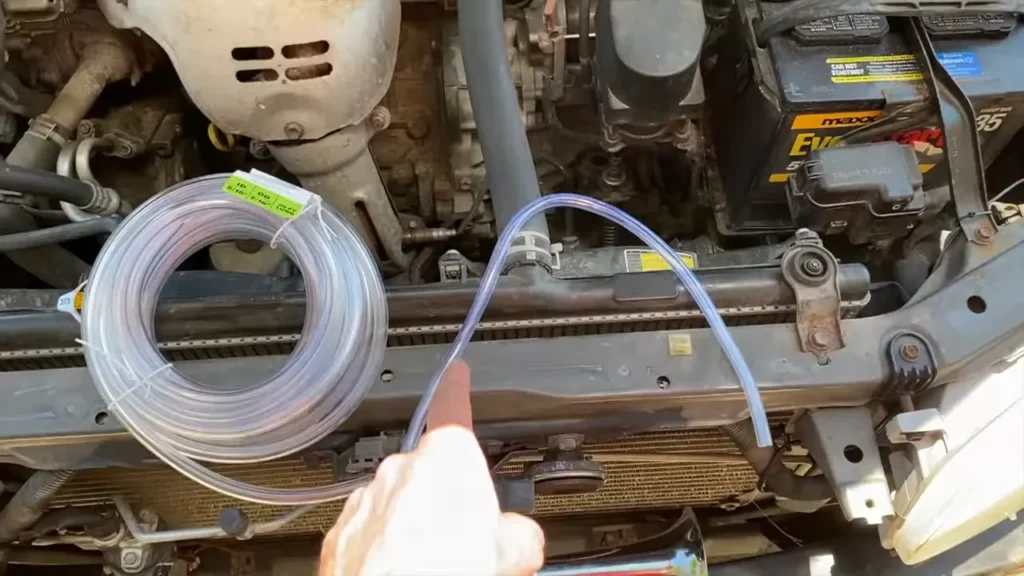
- Locate a suitable path: Begin by finding a suitable route for the wires to run from the air horn to the truck’s battery. It’s important to choose a path that avoids any potential damage or interference.
- Measure and cut the wires: Once you’ve determined the path, measure the distance between the air horn and the battery. Cut the wires to the appropriate length, leaving a little extra for any necessary adjustments.
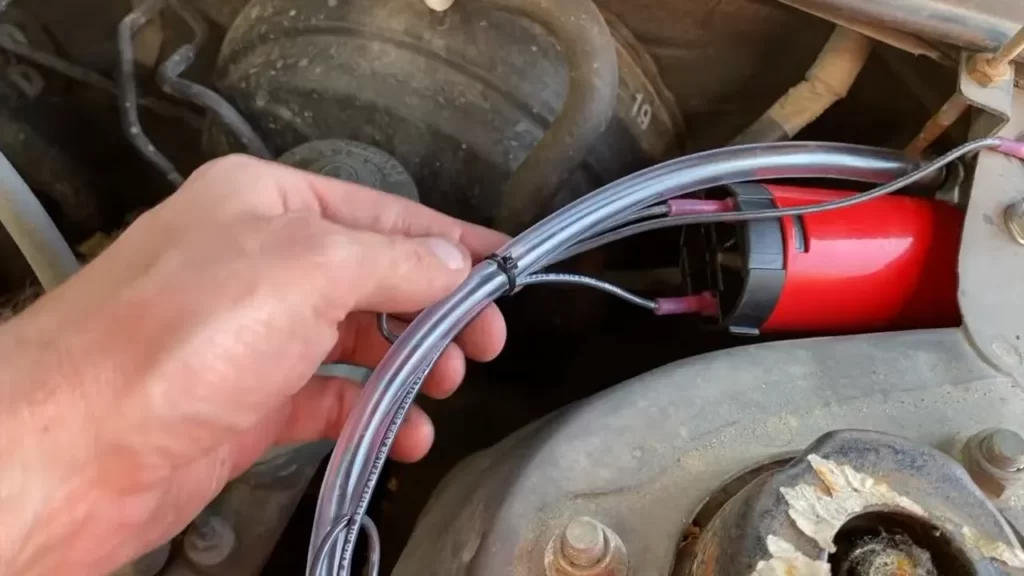
- Secure the wires: Use electrical tape or zip ties to secure the wires along the chosen path. This will prevent them from coming loose or getting tangled with other components.
Connecting the wires to the appropriate terminals
Now that you have successfully run the wires from the air horn to the truck’s battery, it’s time to connect them to the appropriate terminals. Here’s a simple guide to help you complete this step:
- Identify the positive and negative terminals: Locate the positive (+) and negative (-) terminals on both the air horn and the truck’s battery. It’s crucial to connect the wires correctly to ensure the air horn functions properly and avoids any electrical issues.
- Strip the wire ends: Strip a small section of insulation from the ends of the wires using wire strippers. This will expose the metal conductors, allowing for a secure connection.
- Connect the wires: Attach the stripped ends of the wires to the corresponding terminals. Connect the positive wire to the positive terminal and the negative wire to the negative terminal.
- Secure the connections: Use electrical connectors or crimping tools to secure the connections. This will ensure a reliable and durable connection that won’t come loose over time.
By following these steps and paying attention to the details, you’ll be able to wire and connect your air horn to your truck’s battery accurately. Make sure to double-check all connections and test the air horn before finalizing the installation.
Testing And Fine-Tuning The Air Horn
Once you have successfully installed an air horn on your truck, it’s time to move on to the important step of testing and fine-tuning it. Testing the air horn is crucial to ensure its proper functionality before hitting the road. Additionally, adjusting the sound and volume allows you to customize the air horn to your preference, making sure it provides the desired impact when needed. In this section, we will discuss how to test the air horn and how to adjust it to achieve the ideal sound and volume.
Testing the air horn to ensure proper functionality
The first step in testing the air horn is to check the wiring connections. Ensure that all the electrical connections are secure and properly attached. Loose connections can lead to malfunctioning or inconsistent sound output. After confirming the connections, activate the air horn to listen for any irregular sounds or weak output. It’s important to check if the air horn is producing a loud, clear, and attention-grabbing sound consistently.
If you detect any issues during the initial test, it’s essential to inspect the air horn for any loose connections, damaged components, or clogs that might affect its performance. Address any problems promptly to ensure the air horn is functioning correctly and providing the desired impact.
Adjusting the air horn’s sound and volume
Now that you have confirmed the air horn’s proper functionality, you can move onto adjusting its sound and volume. This step allows you to fine-tune the air horn to suit your preferences and make it most effective in different situations.
To adjust the air horn’s sound, you can usually find a screw or adjustment knob on the horn itself or on the air reservoir. This knob allows you to control the pitch of the sound produced by the air horn. By turning the screw or knob clockwise, you can increase the pitch, resulting in a higher-pitched sound. On the other hand, turning it counterclockwise will lower the pitch, producing a deeper, more resonating sound. Experiment with different settings to find the pitch that suits your liking and desired impact on the road.
Furthermore, adjusting the volume of the air horn is also crucial. Most air horns come with a pressure regulator or valve that allows you to control the intensity of the sound. You can usually find this valve near the air compressor. By adjusting the pressure, you can make the air horn louder or softer according to your preference. Keep in mind that excessively loud air horns might violate noise regulations in certain areas, so be mindful of the local laws and regulations when fine-tuning the volume.
Remember to fine-tune both the sound and volume to strike the perfect balance. You want your air horn to be attention-grabbing and effective without being overly intrusive or disturbing to others.
In conclusion, testing and fine-tuning the air horn on your truck is a crucial step to ensure its proper functionality and desired impact. By testing the air horn and addressing any issues promptly, you can guarantee a reliable and effective warning system. Additionally, adjusting the sound and volume of the air horn allows you to customize it according to your preferences and the specific requirements of different situations. Take the time to find the optimal settings for your air horn to enhance safety and communicate your presence on the road effectively.
Maintenance And Safety Tips
When it comes to installing an air horn on your truck, it’s not just about the installation process – you also need to take proper care of your air horn to ensure optimal performance and longevity. In addition, it’s crucial to consider safety precautions to avoid any mishaps while using an air horn on your truck. In this section, we will discuss some important maintenance checks and safety tips that you should keep in mind.
Regular maintenance checks for optimal performance
Regular maintenance checks are essential to keep your air horn in top-notch condition. By following these simple steps, you can ensure that your air horn works efficiently and produces the desired sound:
- Inspect the air compressor and air tank for any signs of damage or leaks. If you notice any issues, it’s important to address them immediately.
- Check the air filter regularly and clean or replace it as needed. A clogged or dirty filter can restrict airflow and affect the performance of your air horn.
- Inspect the electrical connections and wiring to ensure they are secure and free from any damage. Loose connections or frayed wires can cause malfunctions or safety hazards.
- Keep the air horn clean by wiping it down regularly with a damp cloth. This will help prevent dust and debris from building up and affecting its performance.
- Test your air horn periodically to ensure it is functioning properly. This can be done by simply pressing the horn button and listening for the sound. If you notice any inconsistencies or unusual noises, it may be a sign of a problem that needs further inspection.
Safety precautions to consider when using an air horn on a
truck
While using an air horn on your truck can be exciting, it’s important to prioritize safety at all times. Here are some safety precautions you should adhere to:
- Ensure that your air horn is used in compliance with local traffic laws and regulations. Improper use or excessive honking can lead to fines or penalties.
- Only use your air horn when necessary, such as to alert other drivers of an imminent danger or to prevent accidents.
- Be mindful of your surroundings when using the air horn, especially in residential areas or near hospitals or schools. Excessive noise can be disruptive and potentially harmful.
- Do not overuse the air horn, as it can lead to mechanical wear and tear and decrease its lifespan.
- Regularly check the mounting brackets and fasteners to ensure they are secure. Loose or damaged mounting can result in the air horn becoming dislodged while driving.
By following these maintenance checks and safety precautions, you can enjoy the benefits of having an air horn on your truck while ensuring your own safety and the safety of others on the road. Remember, a well-maintained and properly used air horn can make a significant difference in emergency situations and help prevent accidents.
Troubleshooting Common Issues
Identifying and Troubleshooting Potential Problems with the Air Horn System
If you’ve recently installed an air horn on your truck and are experiencing some issues, don’t worry – it’s a common occurrence! Troubleshooting your air horn system can help you identify and fix any potential problems. In this section, we’ll discuss the most common issues and provide solutions to help you get your air horn working perfectly.
Solution for Weak Sound
If you notice that your air horn is producing a weak sound, it can be frustrating. Fortunately, this issue can usually be resolved with a few simple steps:
- Check the air pressure: Insufficient air pressure can lead to a weak sound. Ensure that your air tank is fully pressurized according to the manufacturer’s guidelines.
- Inspect the air horn valve: A damaged or clogged valve can prevent the air horn from functioning at full capacity. Carefully examine the valve and clean or replace it if necessary.
- Examine the air horn diaphragm: Over time, the diaphragm can become worn or damaged, resulting in a weaker sound. Inspect the diaphragm and replace it if needed.
- Verify the hose connections: Loose or disconnected hoses can cause air leakage, reducing the sound volume. Make sure all hose connections are secure and properly attached.
Solution for Malfunctioning Compressor
If your air horn is not working at all, it could be due to a malfunctioning compressor. Follow these steps to troubleshoot and fix the issue:
- Check the power supply: Ensure that the compressor is receiving power by examining the wiring and connections. It’s possible that a loose or damaged wire is causing the malfunction.
- Inspect the compressor relay: A faulty or worn-out relay can prevent the compressor from functioning properly. Check the relay and replace it if necessary.
- Clean or replace the compressor air filter: A clogged air filter can restrict airflow, reducing the compressor’s performance. Clean or replace the filter regularly to avoid such issues.
- Check for leaks: Air leaks can cause the compressor to work overtime, leading to malfunctioning. Inspect all connections and fittings for any signs of leakage and repair as needed.
By following these troubleshooting steps, you’ll be able to address common issues with your air horn system and get it back to producing that powerful, attention-grabbing sound you desire. Remember to consult your air horn’s user manual for specific instructions and always prioritize safety while performing any maintenance tasks.
Additional Considerations And Upgrades
When it comes to installing an air horn on your truck, there are several additional considerations and upgrades worth exploring. These can enhance your overall experience and ensure that your air horn meets your specific needs. In this section, we’ll discuss two key upgrades and considerations: upgrading to a dual-tone air horn system and considerations for using an air horn with your truck’s existing horn system.
Upgrading to a dual-tone air horn system
If you want to take your truck’s air horn to the next level, upgrading to a dual-tone air horn system is an excellent option. This upgrade allows you to have more control over the sound produced by your air horn and can result in a louder, more distinct noise.
To install a dual-tone air horn system, you’ll need to purchase a dual-tone horn kit. These kits typically come with two separate horns, each producing a different tone. Make sure to choose a kit that is compatible with your truck’s electrical system and has the necessary wiring and connectors.
Installation of a dual-tone air horn system follows a similar process to that of a single-tone system. However, you’ll need to connect both horns to the wiring harness and ensure they are secured in a suitable location under the hood. It’s also important to adjust the positioning of the horns to achieve the desired sound balance and volume.
Considerations for using an air horn with a truck’s existing horn system
If you’re planning to use an air horn in conjunction with your truck’s existing horn system, there are a few things you should keep in mind. Firstly, it’s crucial to ensure that the two systems work harmoniously together. This means considering the compatibility of the wiring, connectors, and control mechanisms.
Before installing an air horn, check your truck’s user manual or consult with a professional to verify if your truck’s electrical system can handle the additional load. Some trucks may require upgrades to the electrical system to support the increased power consumption of an air horn.
In addition to electrical considerations, it’s important to mount the air horn in a location that allows for optimal sound transmission and doesn’t obstruct other components under the hood. You may need to modify existing brackets or use aftermarket mounting solutions to secure the air horn in a suitable position.
Lastly, it’s advisable to have a switch or control mechanism that allows you to easily toggle between the air horn and the truck’s stock horn. This way, you can use the appropriate horn depending on the situation or your preference.
By considering these factors, you can ensure a seamless integration between your truck’s existing horn system and the newly installed air horn, enhancing your safety and overall driving experience.
Frequently Asked Questions For How To Install An Air Horn On A Truck
Can I Replace My Car Horn With An Air Horn?
Yes, you can replace your car horn with an air horn for a louder and more attention-grabbing sound. However, it is important to check your local laws and regulations regarding horn modifications before making any changes. Ensure that your vehicle’s electrical system can handle the power requirements of an air horn as well.
Where Do You Mount An Air Horn On A Car?
An air horn on a car can be mounted in various places, including the front grille, under the hood, or on the roof. The most common location is the front grille, as it allows for easy access and optimal sound projection.
Careful placement is important to ensure functionality and visibility.
Is It Illegal To Carry An Air Horn?
No, it is not illegal to carry an air horn. However, there may be restrictions on using it in certain places or situations. Always check local regulations before using an air horn in public spaces or events.
Do Air Horns Need A Compressor?
Yes, air horns require a compressor to work. The compressor supplies the necessary air pressure to generate the loud sound produced by the air horn.
Conclusion
Installing an air horn on your truck is a relatively simple process that can greatly enhance your vehicle’s sound and presence on the road. By following the step-by-step guide provided in this blog post, you can successfully complete the installation on your own.
With the right tools and a little bit of patience, you’ll soon be enjoying the powerful sound of your new air horn. So, get ready to turn heads, alert fellow drivers, and make a bold statement with your truck’s horn!